Installing your red dot on your pistol can be a daunting task especially if you’ve had difficulty in the past. I myself have stripped countless screws, cross threaded them all of which resulted in me losing my shit or having to pay someone to remove the damaged screws.
Here is my simple approach to mounting your dot with the best results.
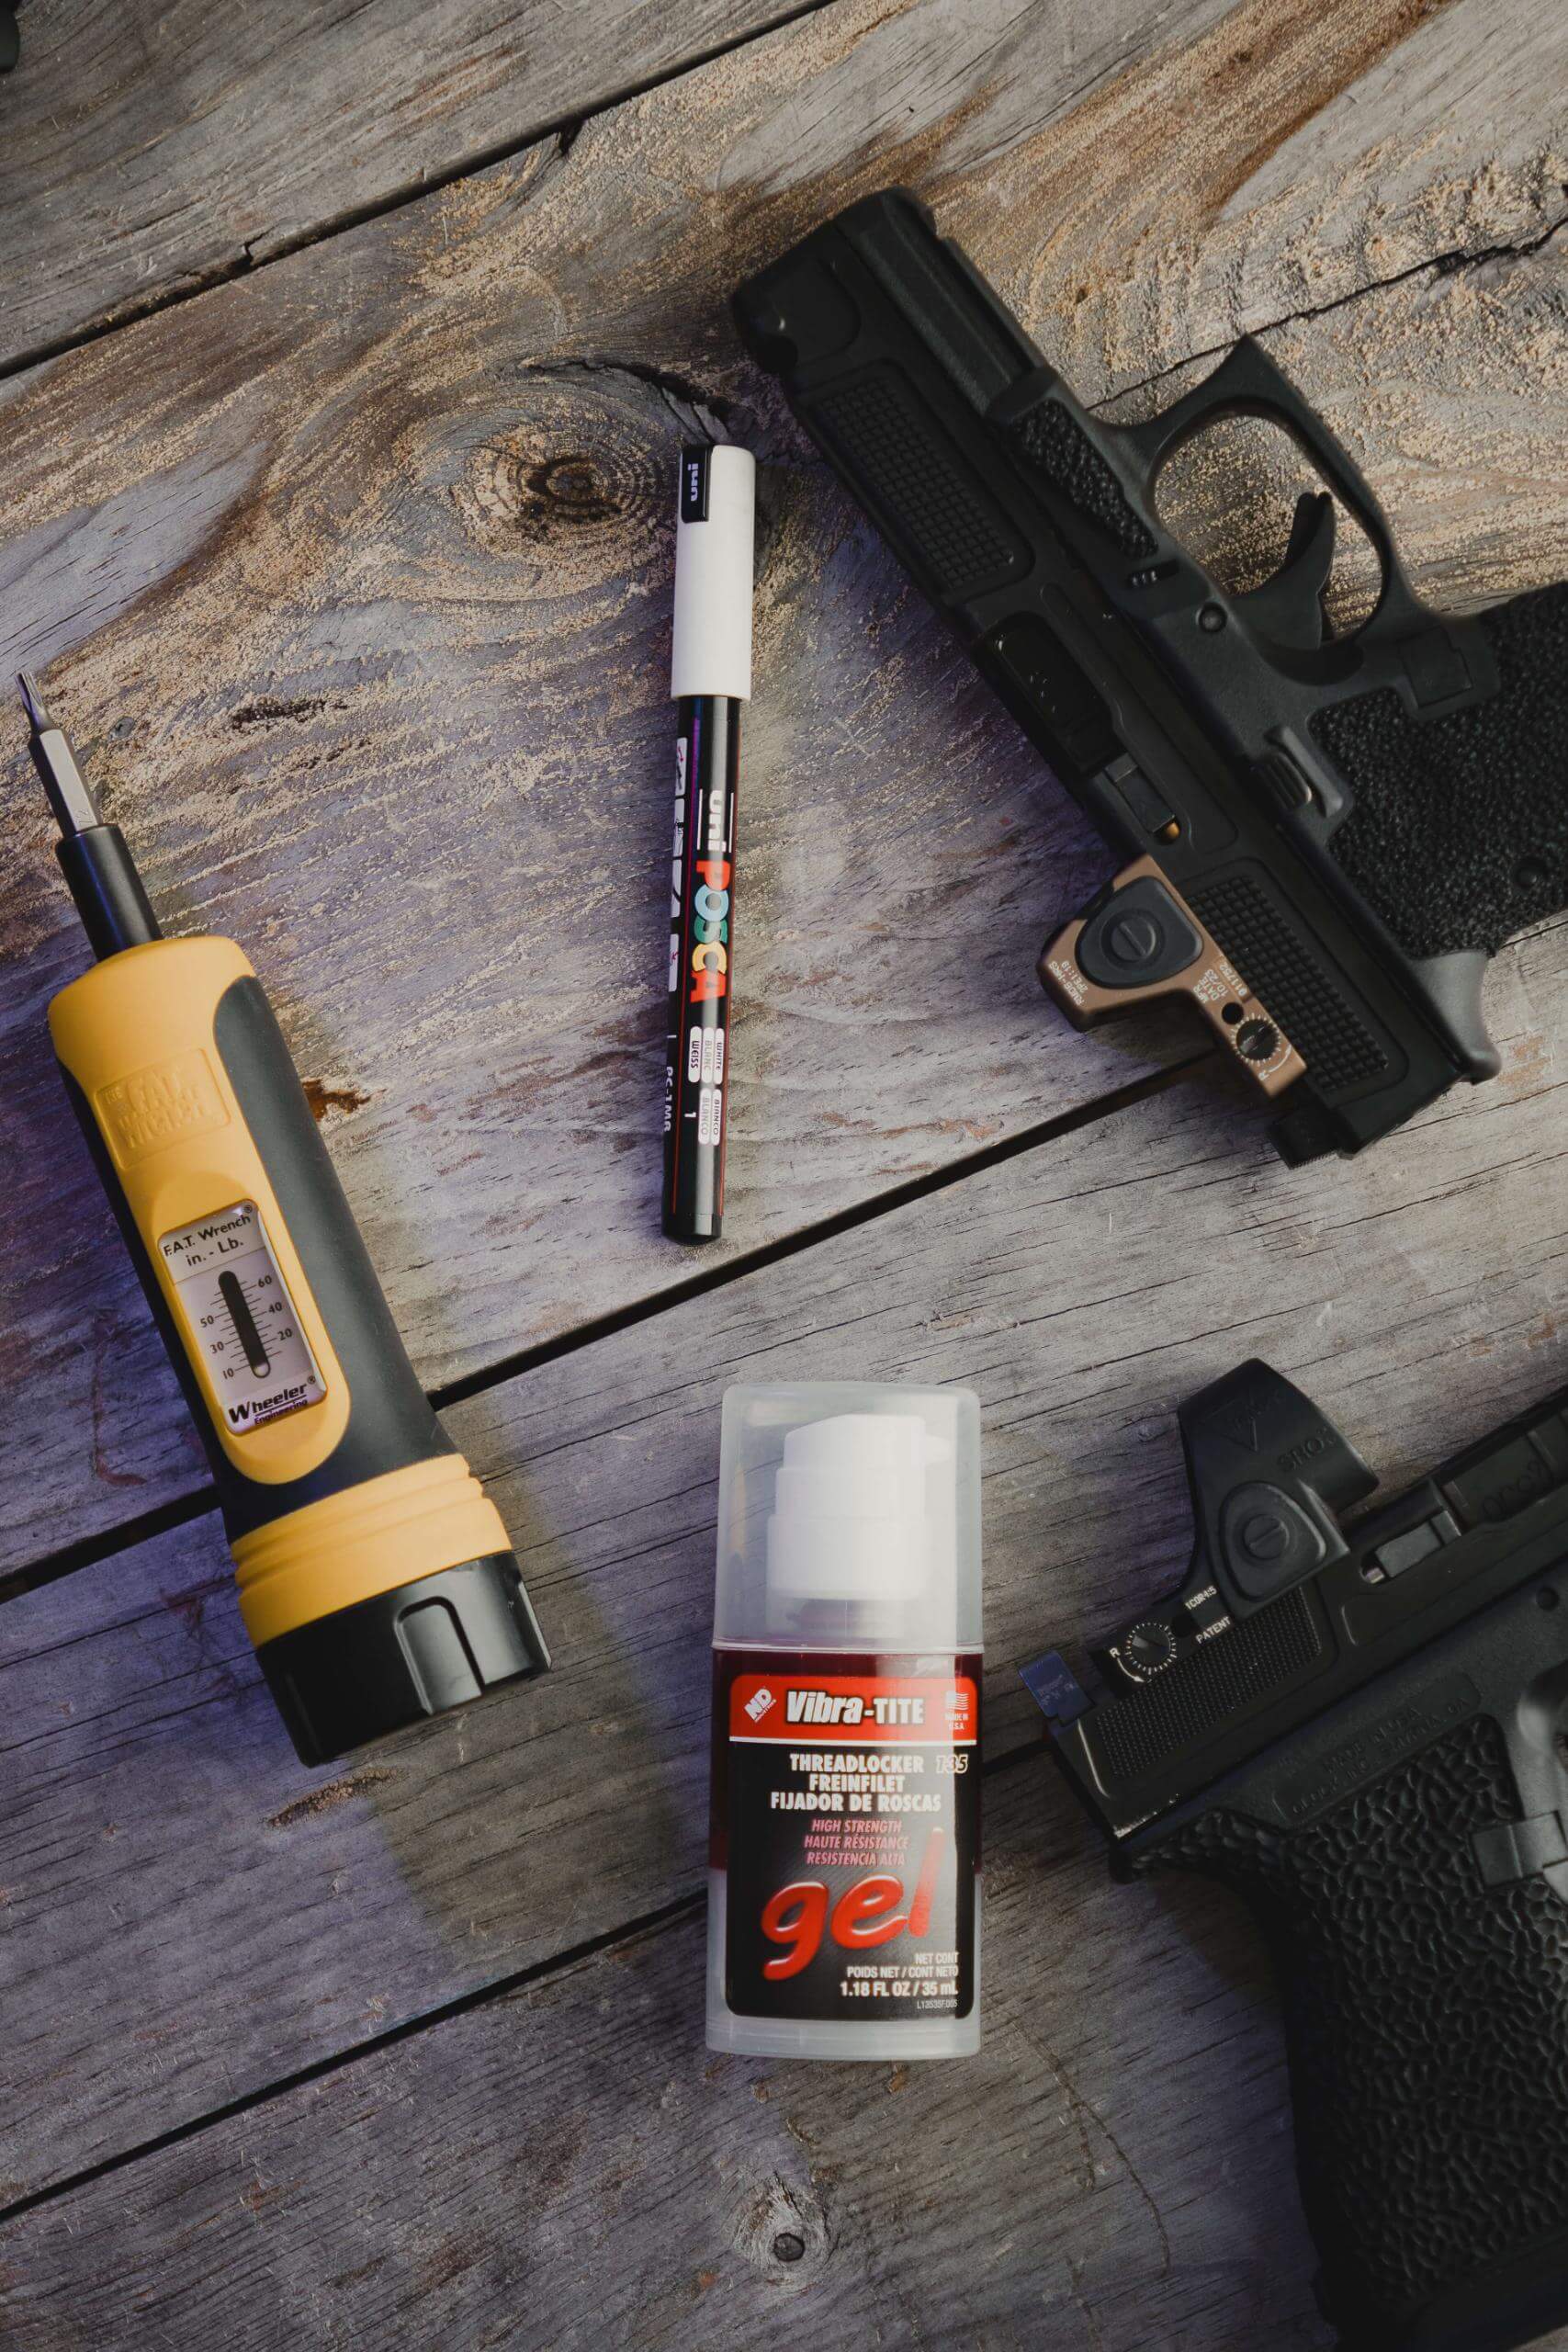
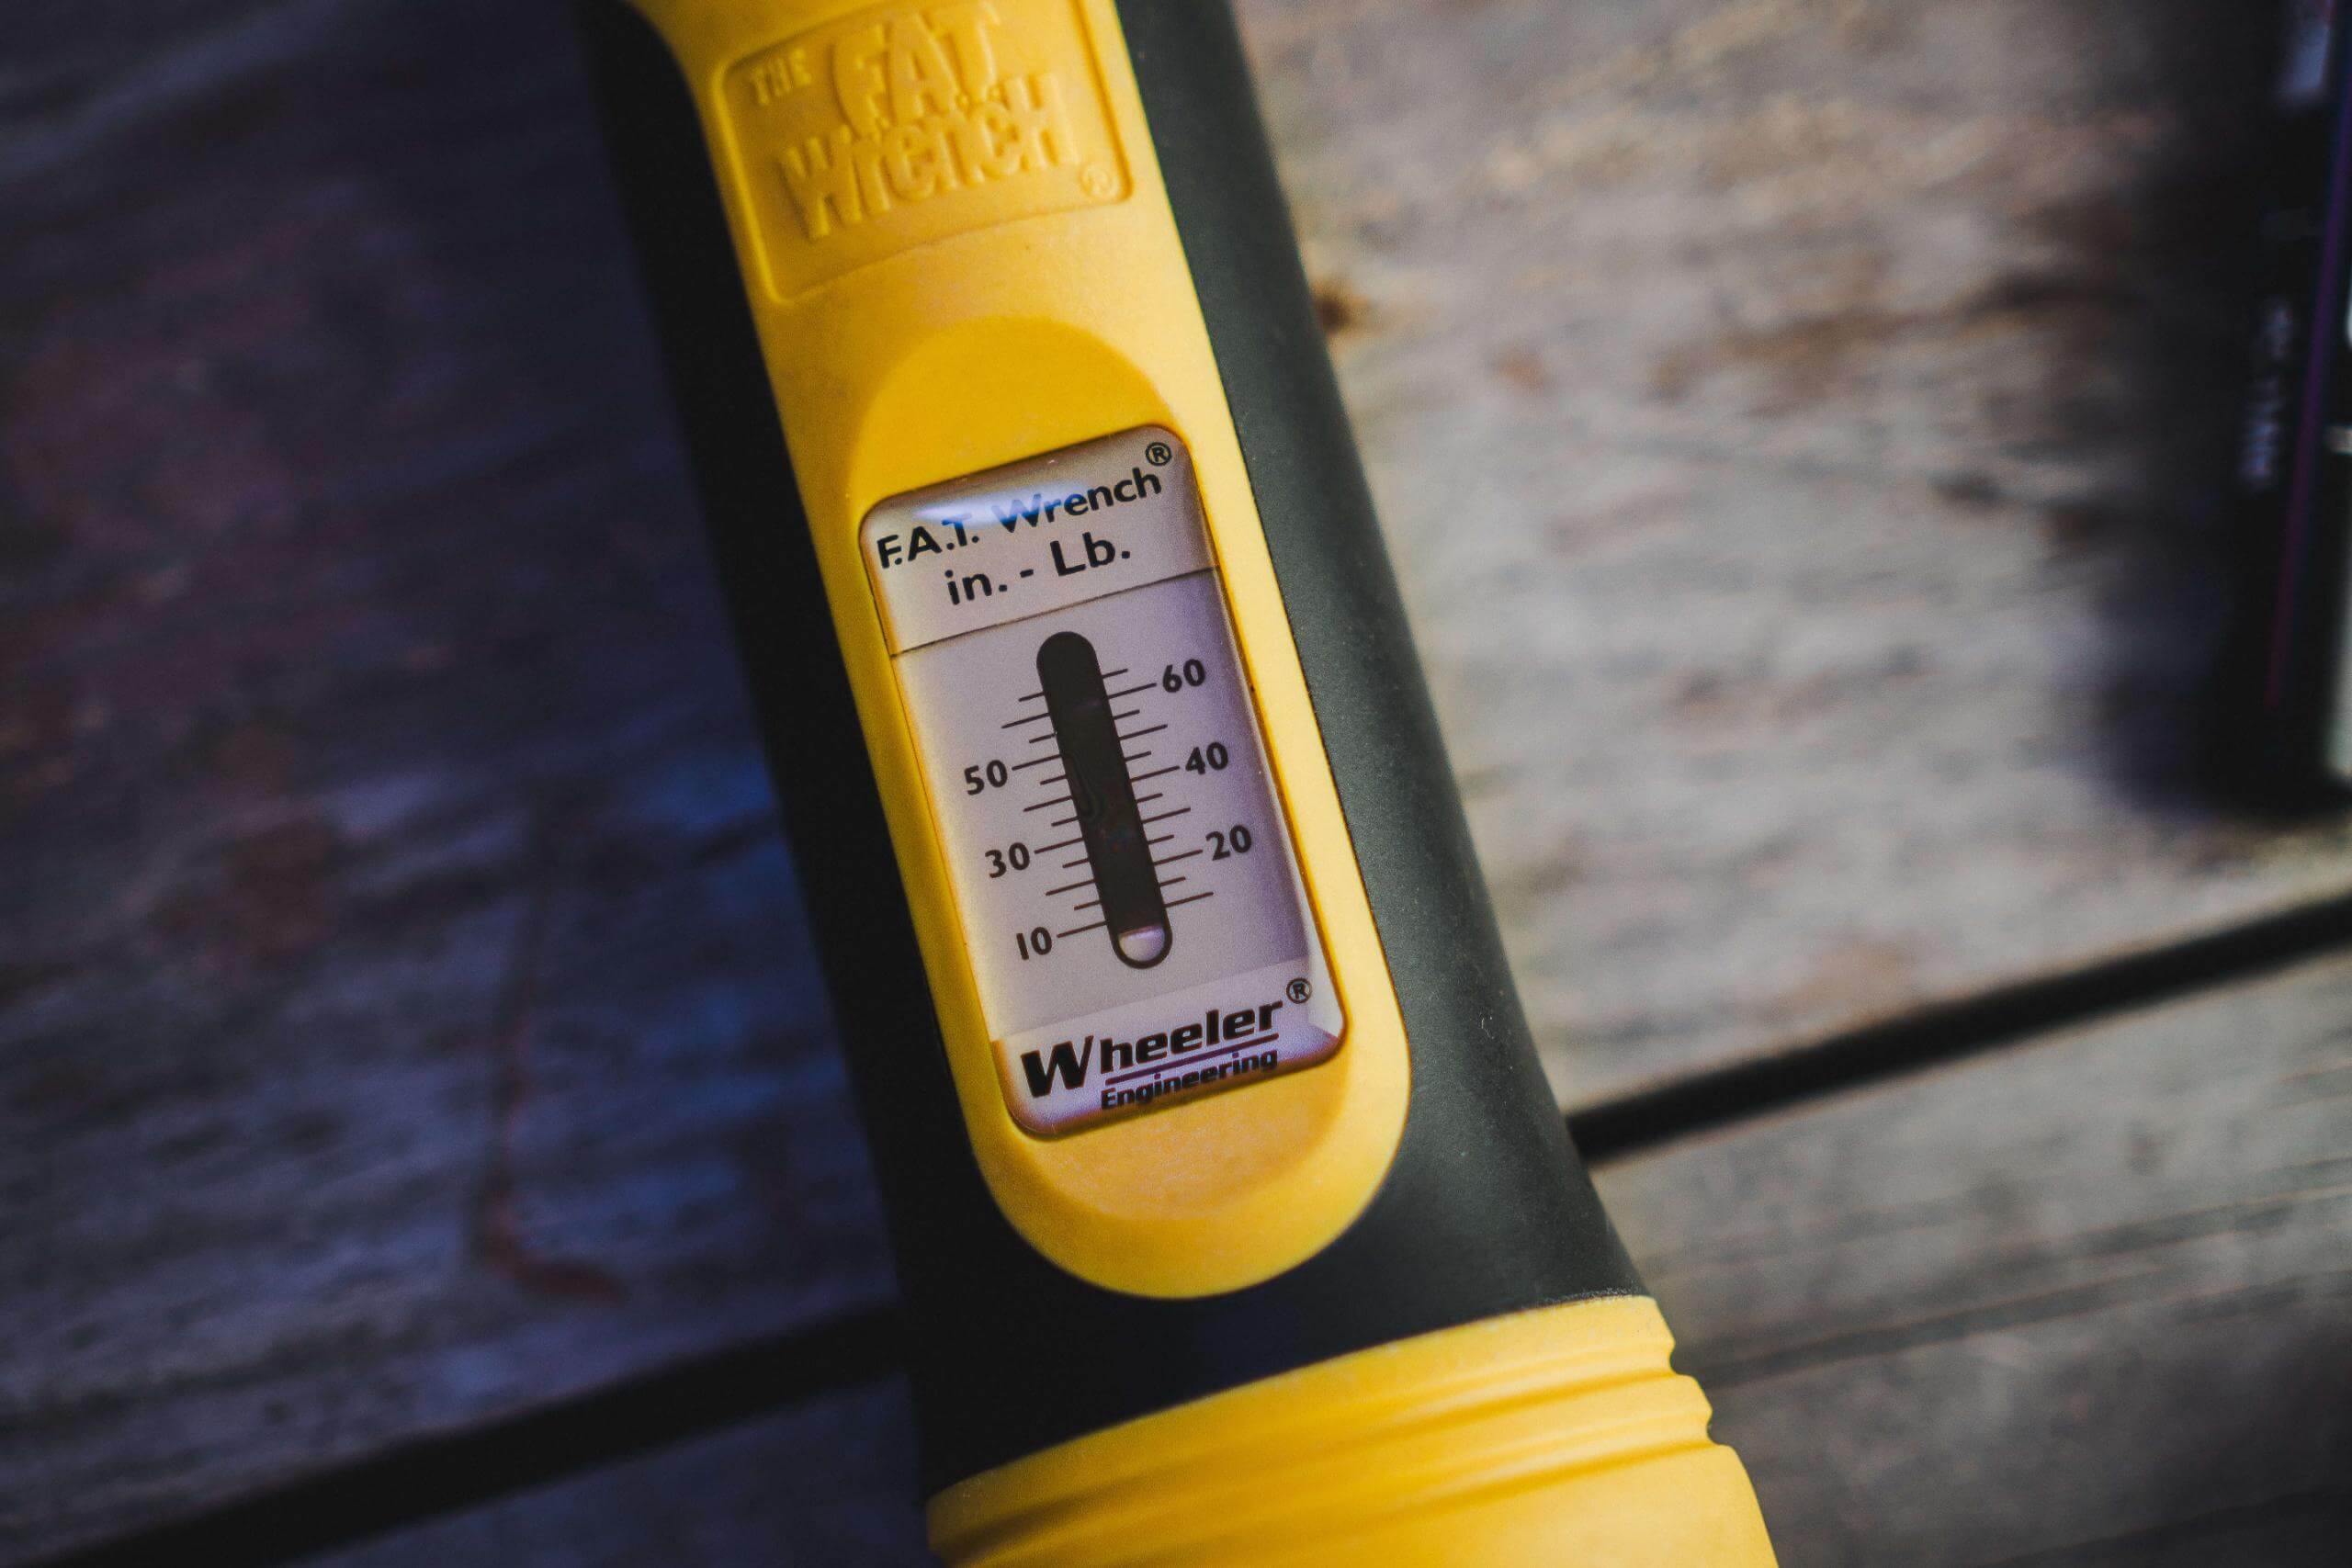
- Wheeler F.A.T Wrench
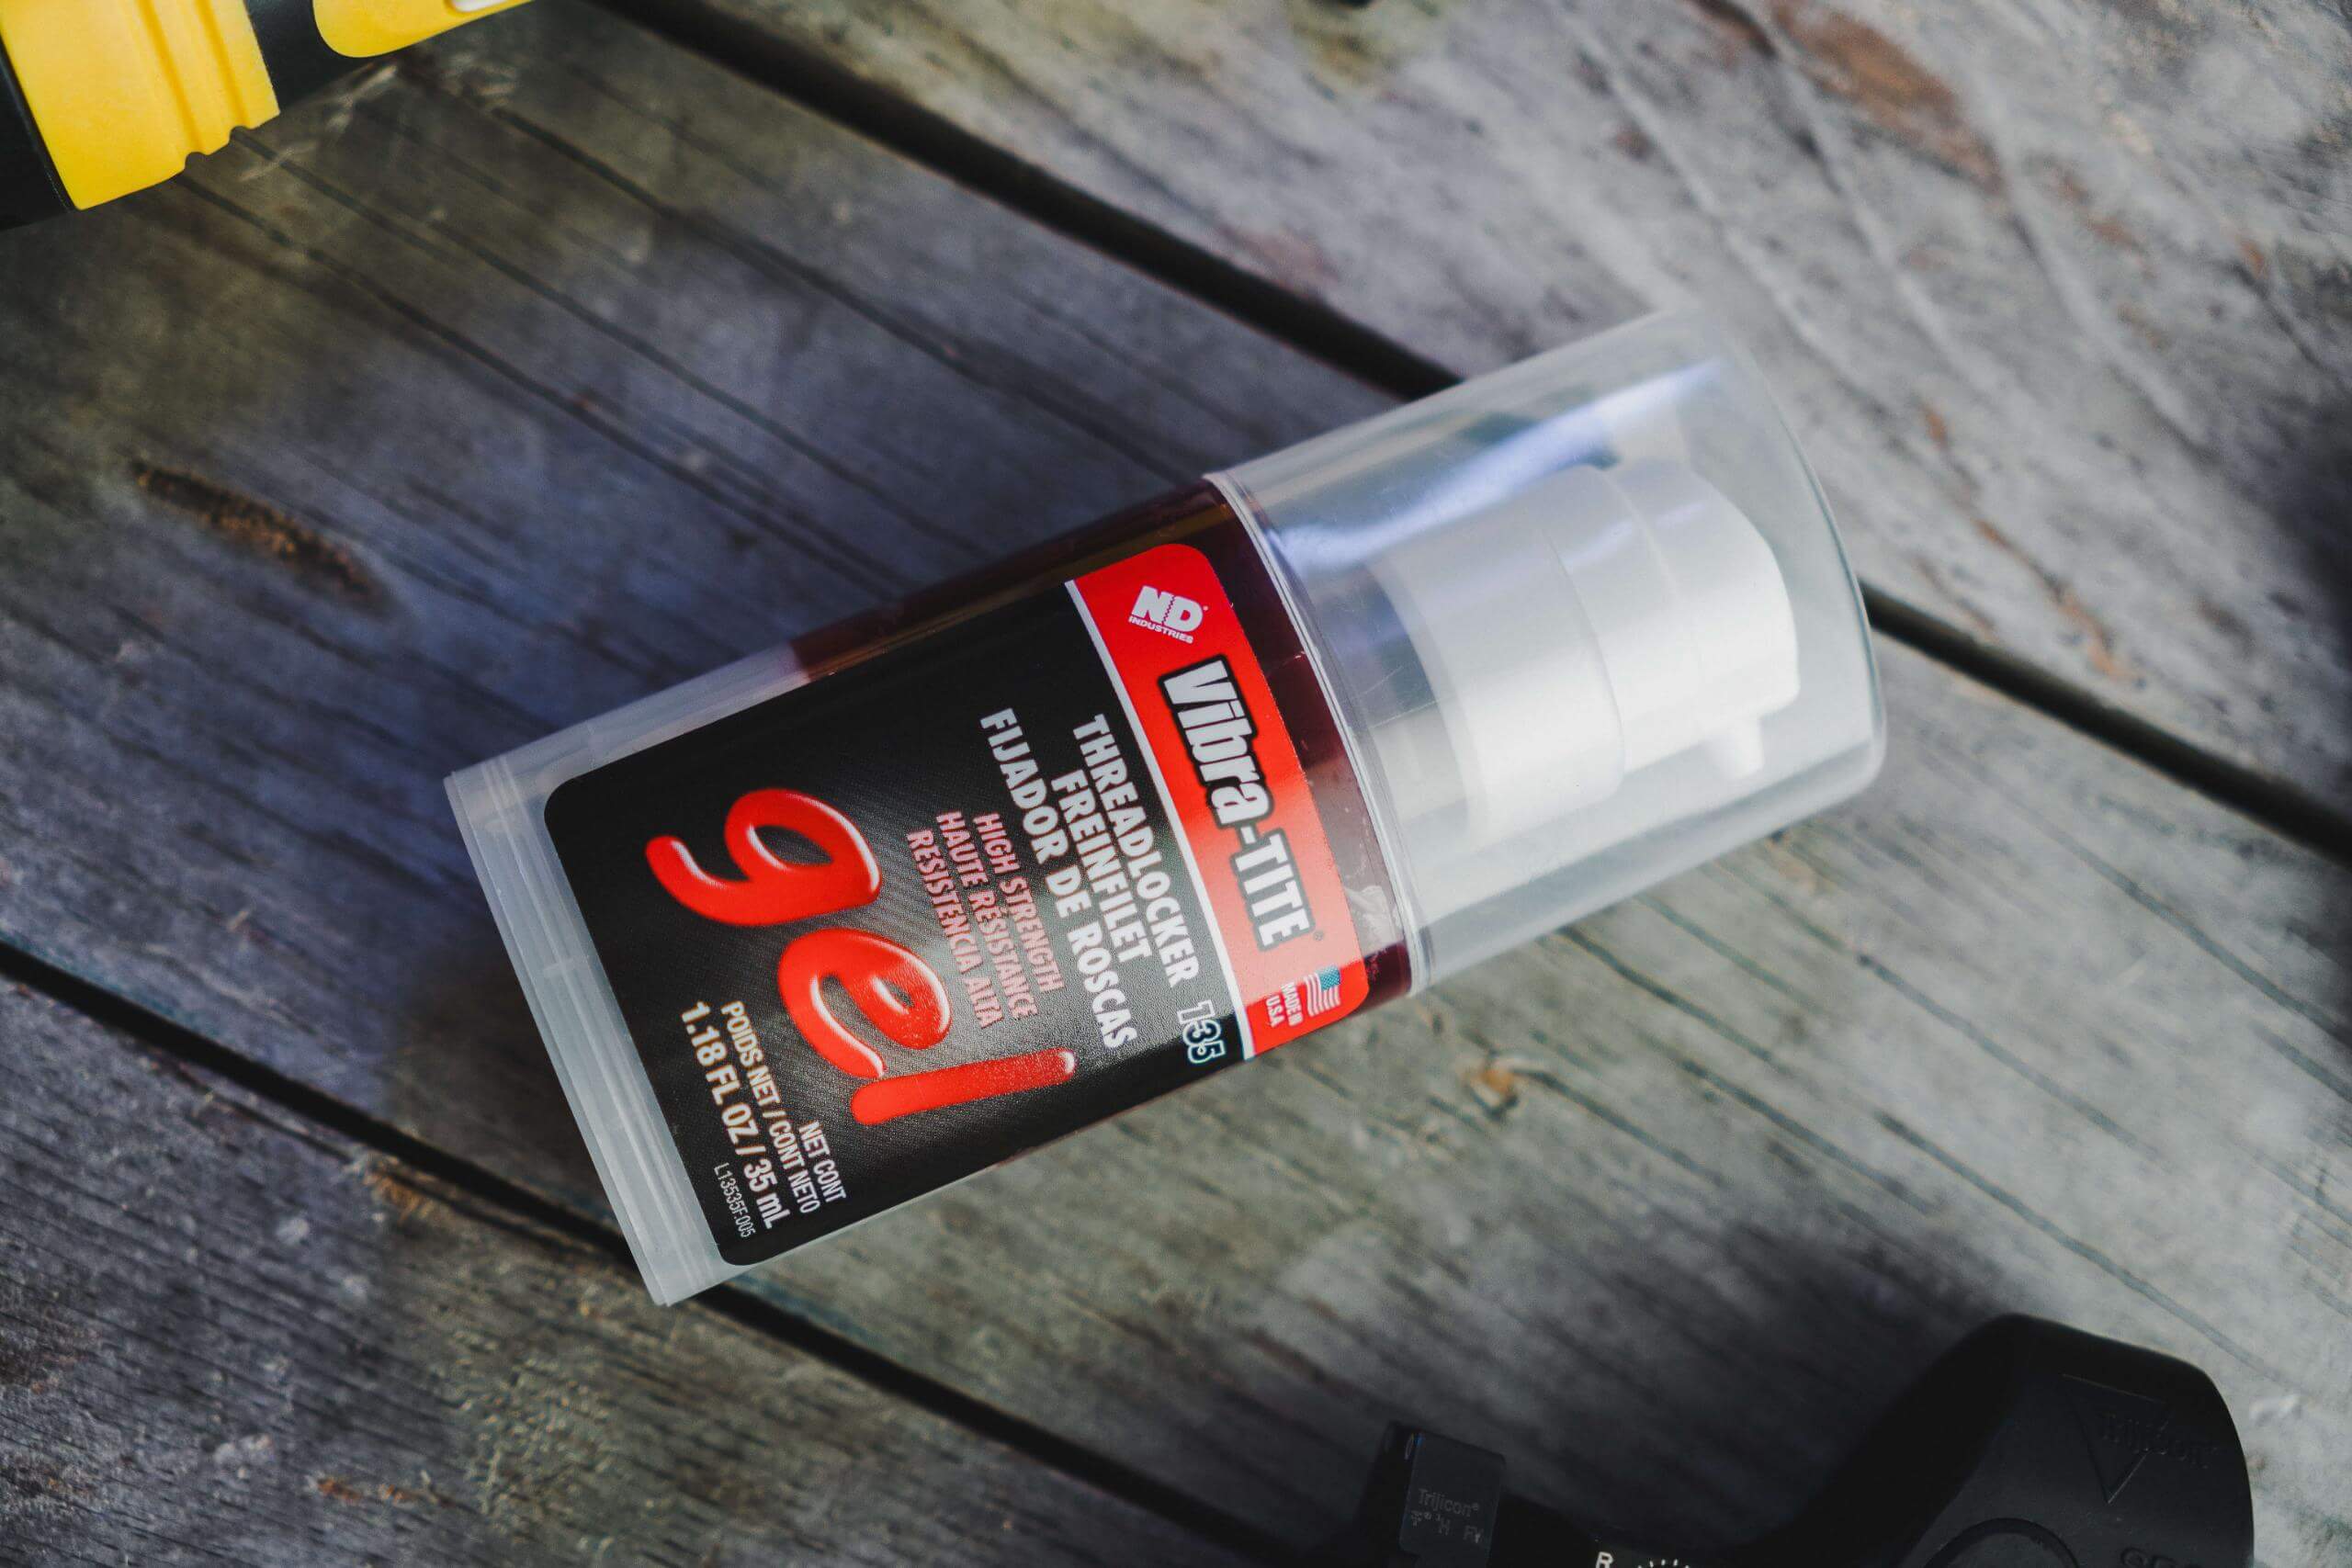
- Vibra-Tite
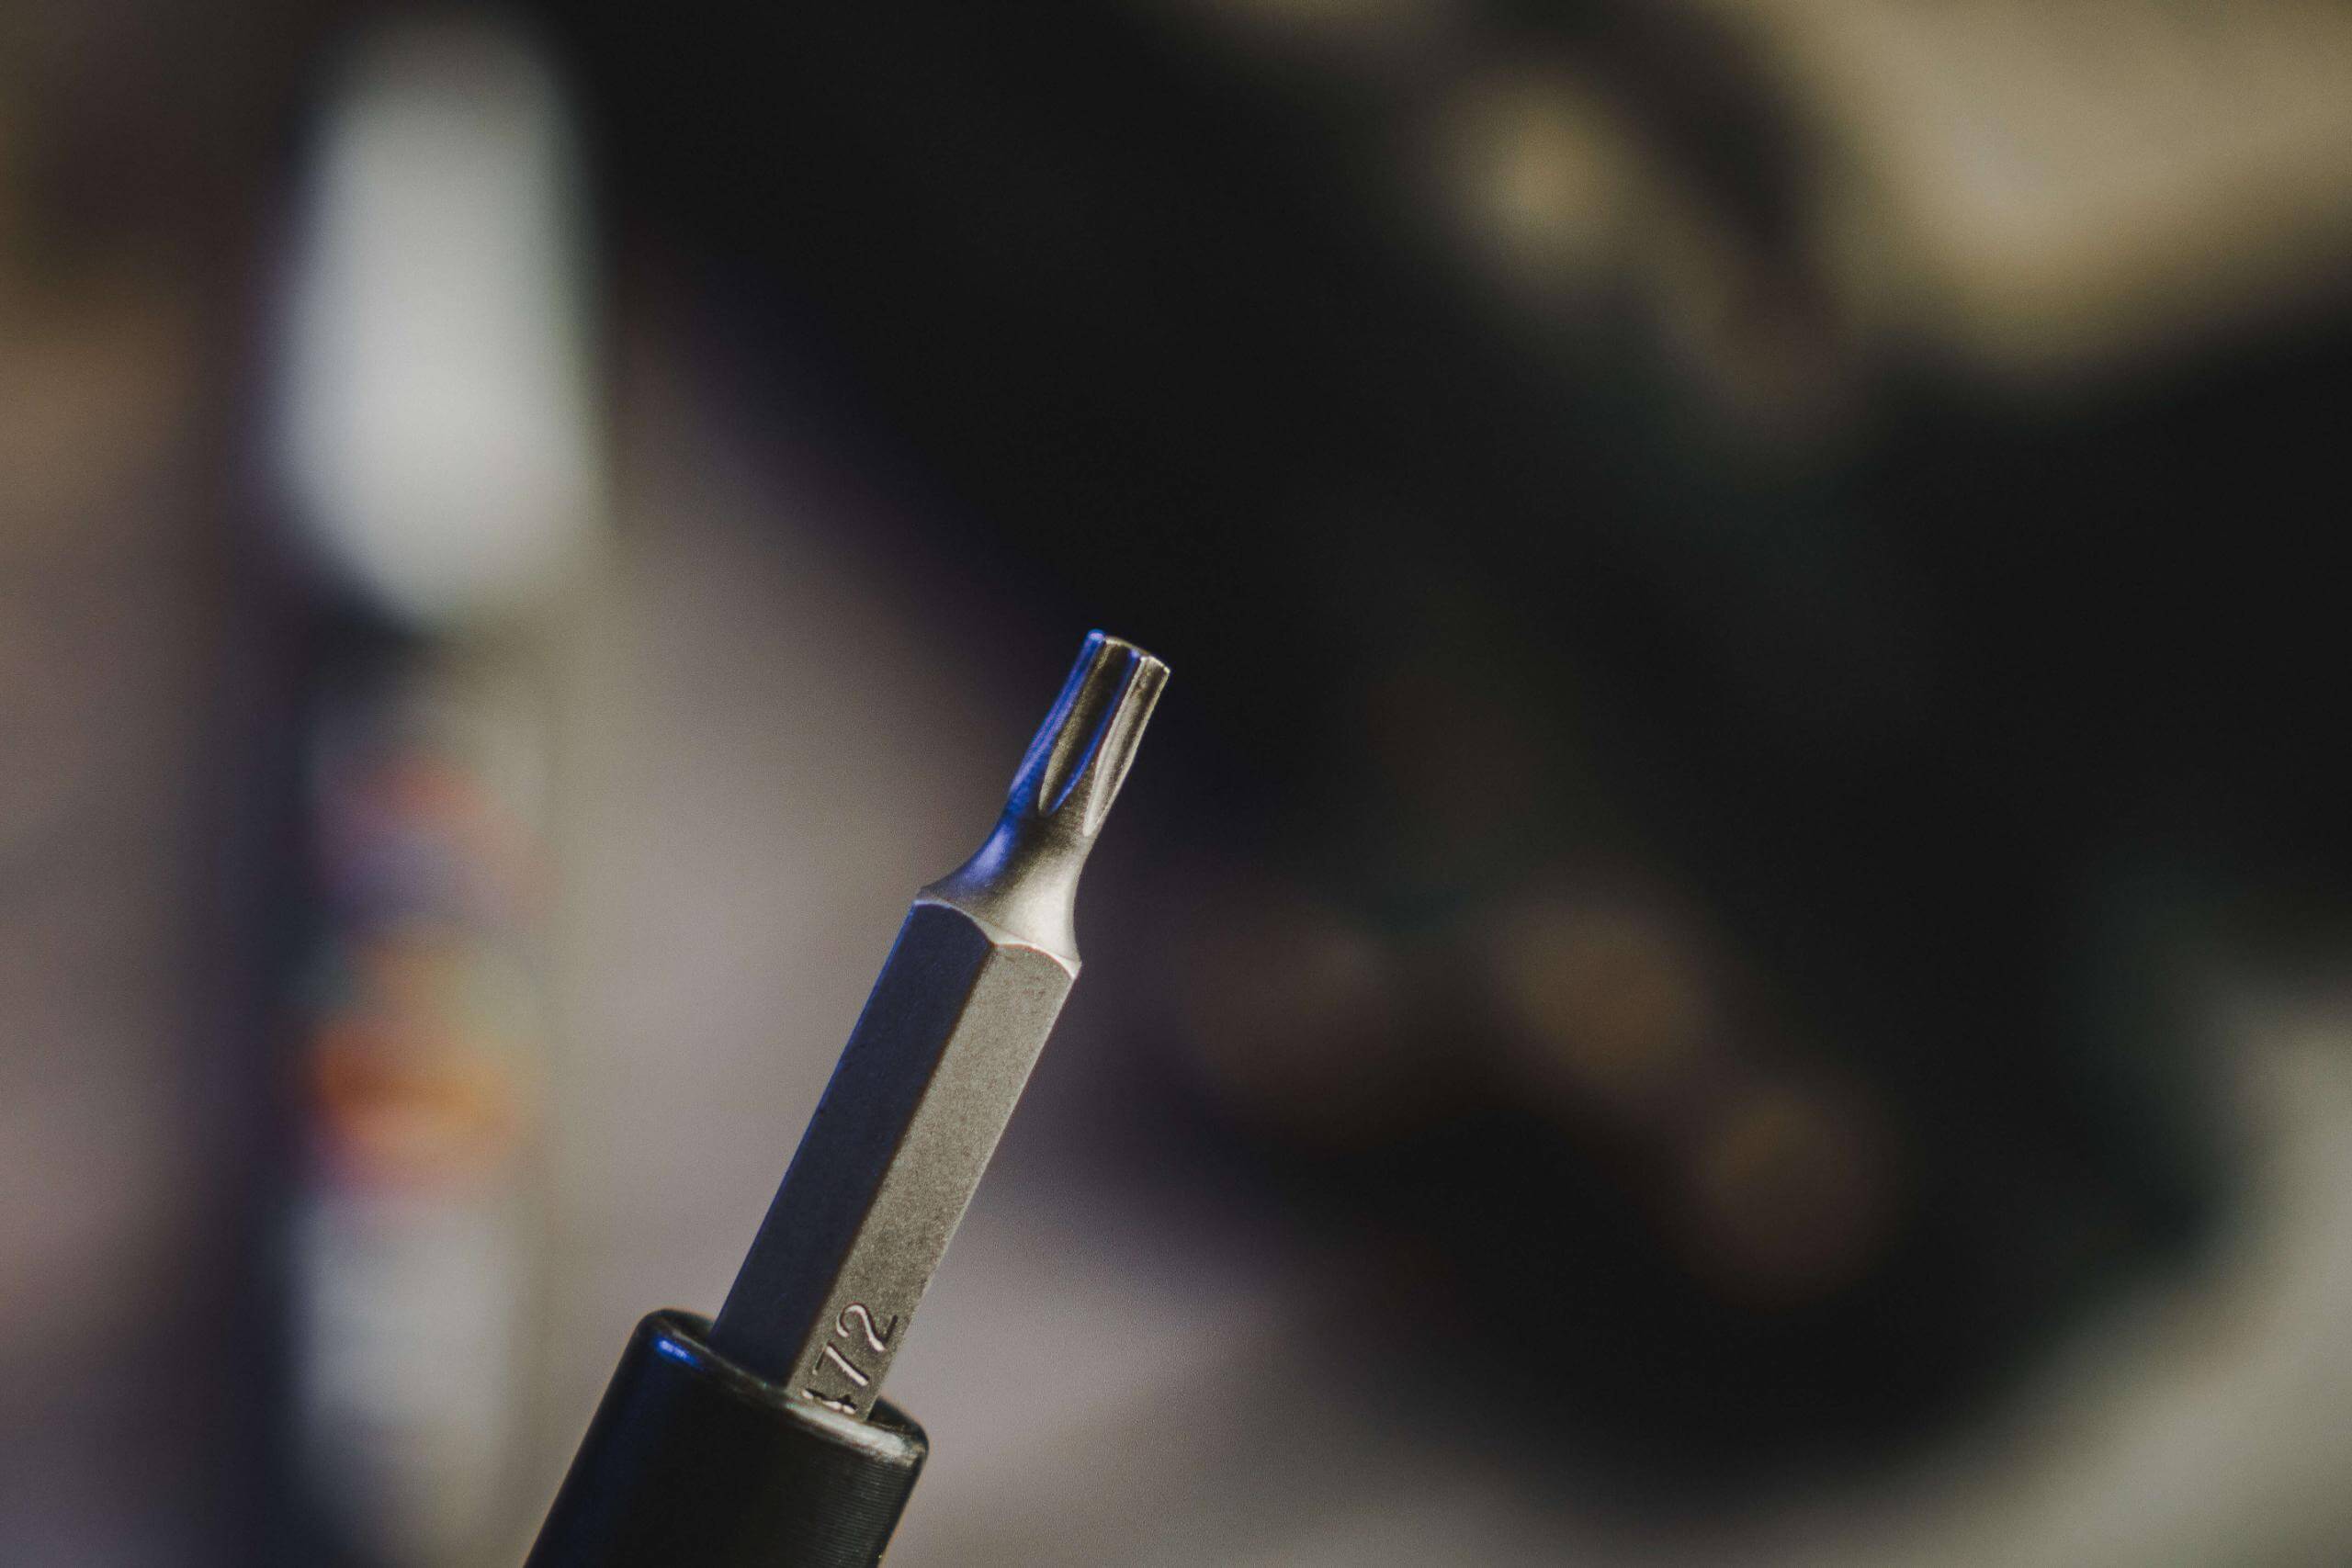
- Legit Allen Keys
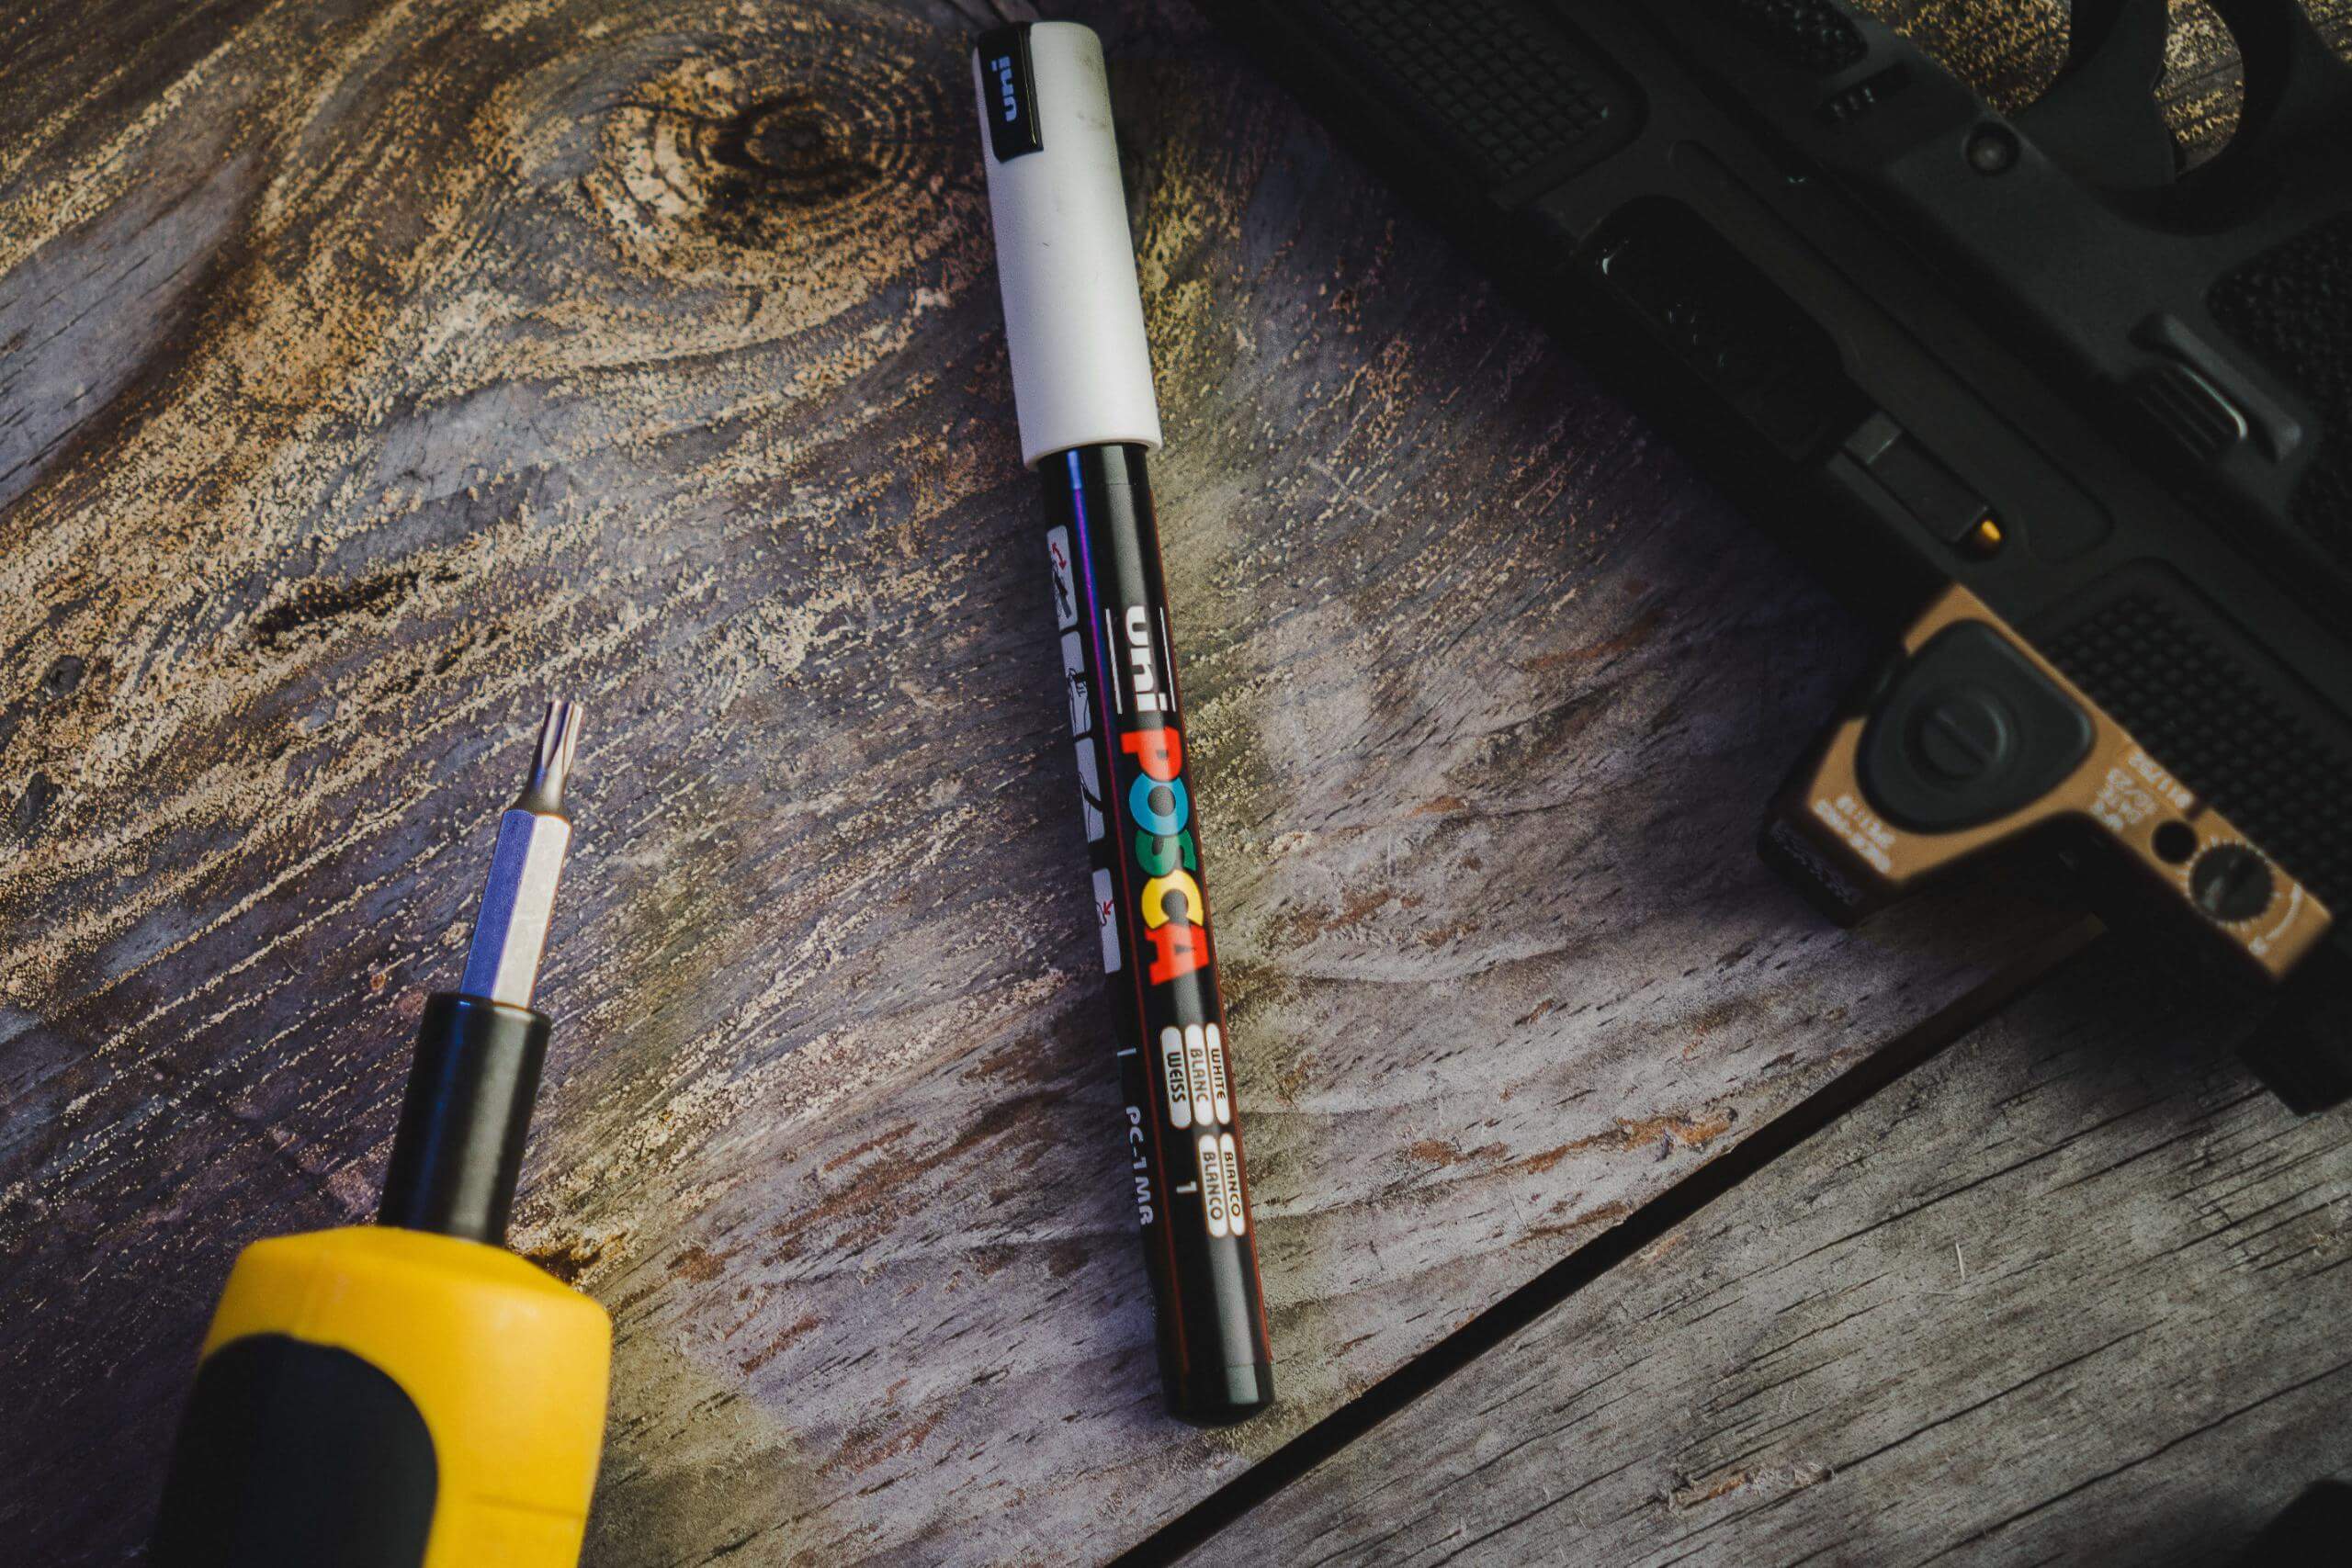
- Posca Paint Marker
- Patience, most important.
Make sure you use the screws that are specific to the red dot you are installing.
Steps to Install a Red Dot Sight on Your Pistol:
- Prep the Pistol:
- Ensure it is unloaded and the magazine is removed.
- Make sure you have everything you NEED!
- Test Fit The Screws :
- This is extremely important.
- Carefully thread the screws in by hand then with an Allen key to ensure proper thread engagement.
- This also helps to remove any rough edges either inside of the hole or the screw may have.
- Apply Vibra-Tite:
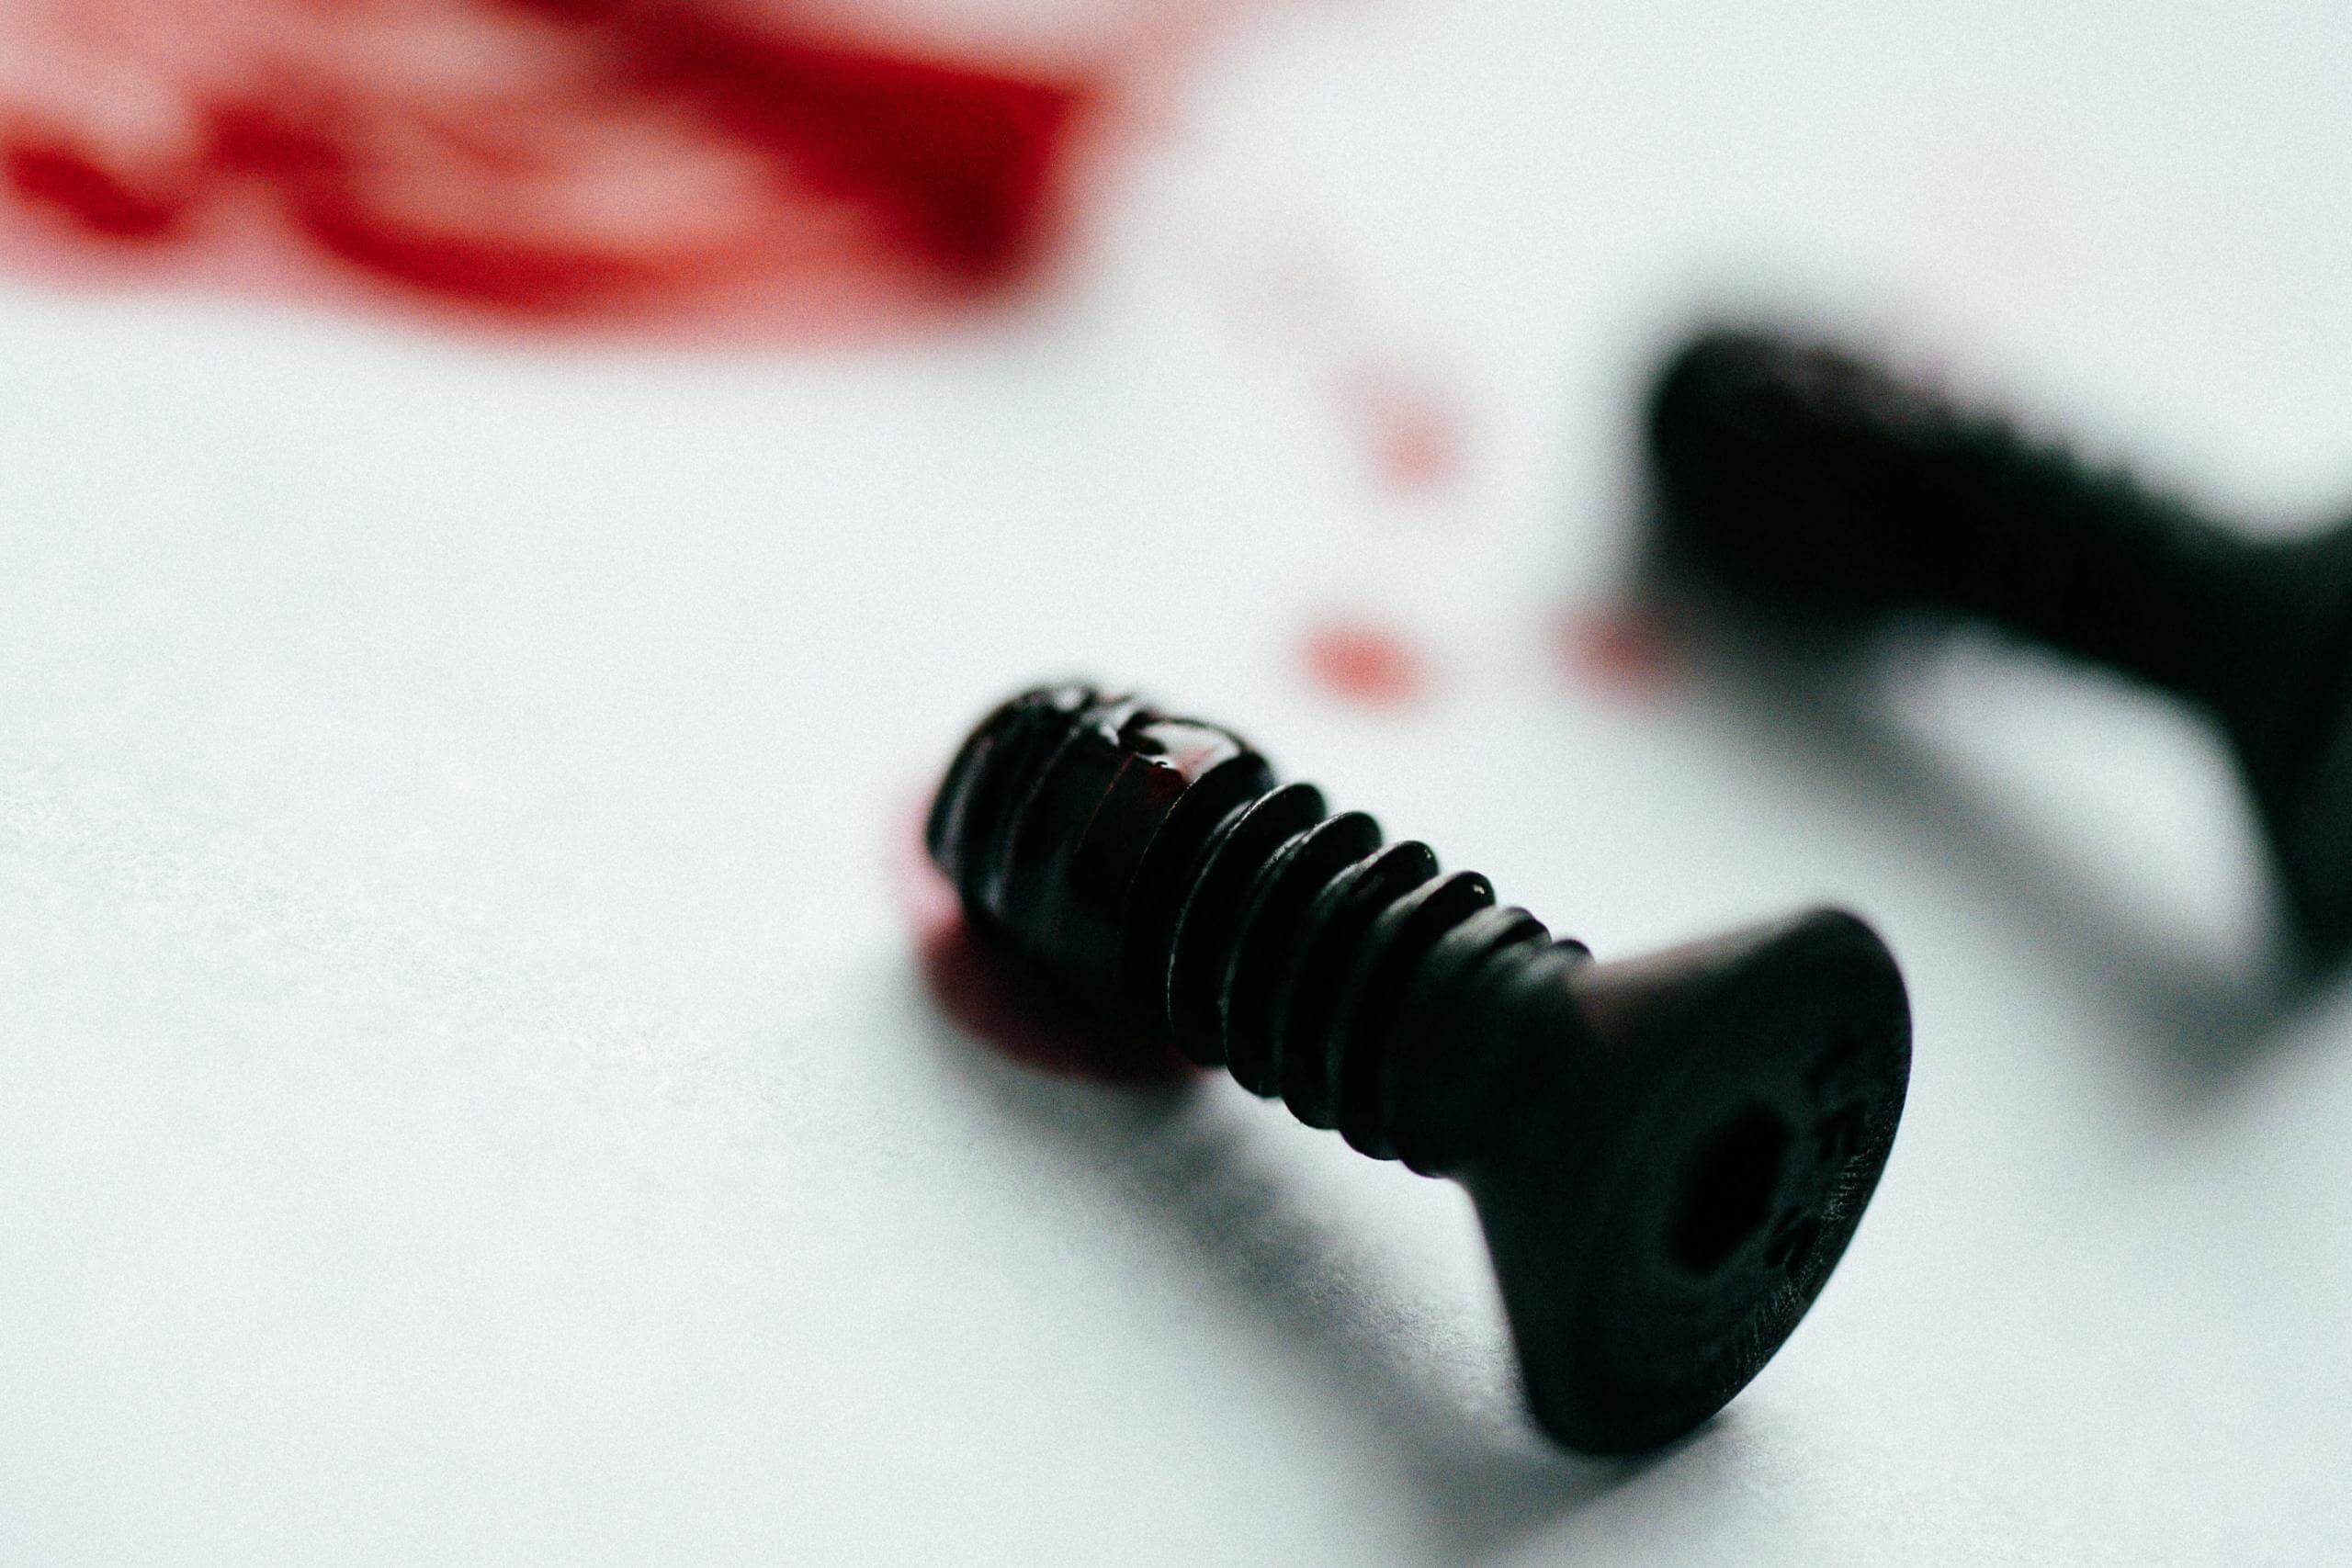
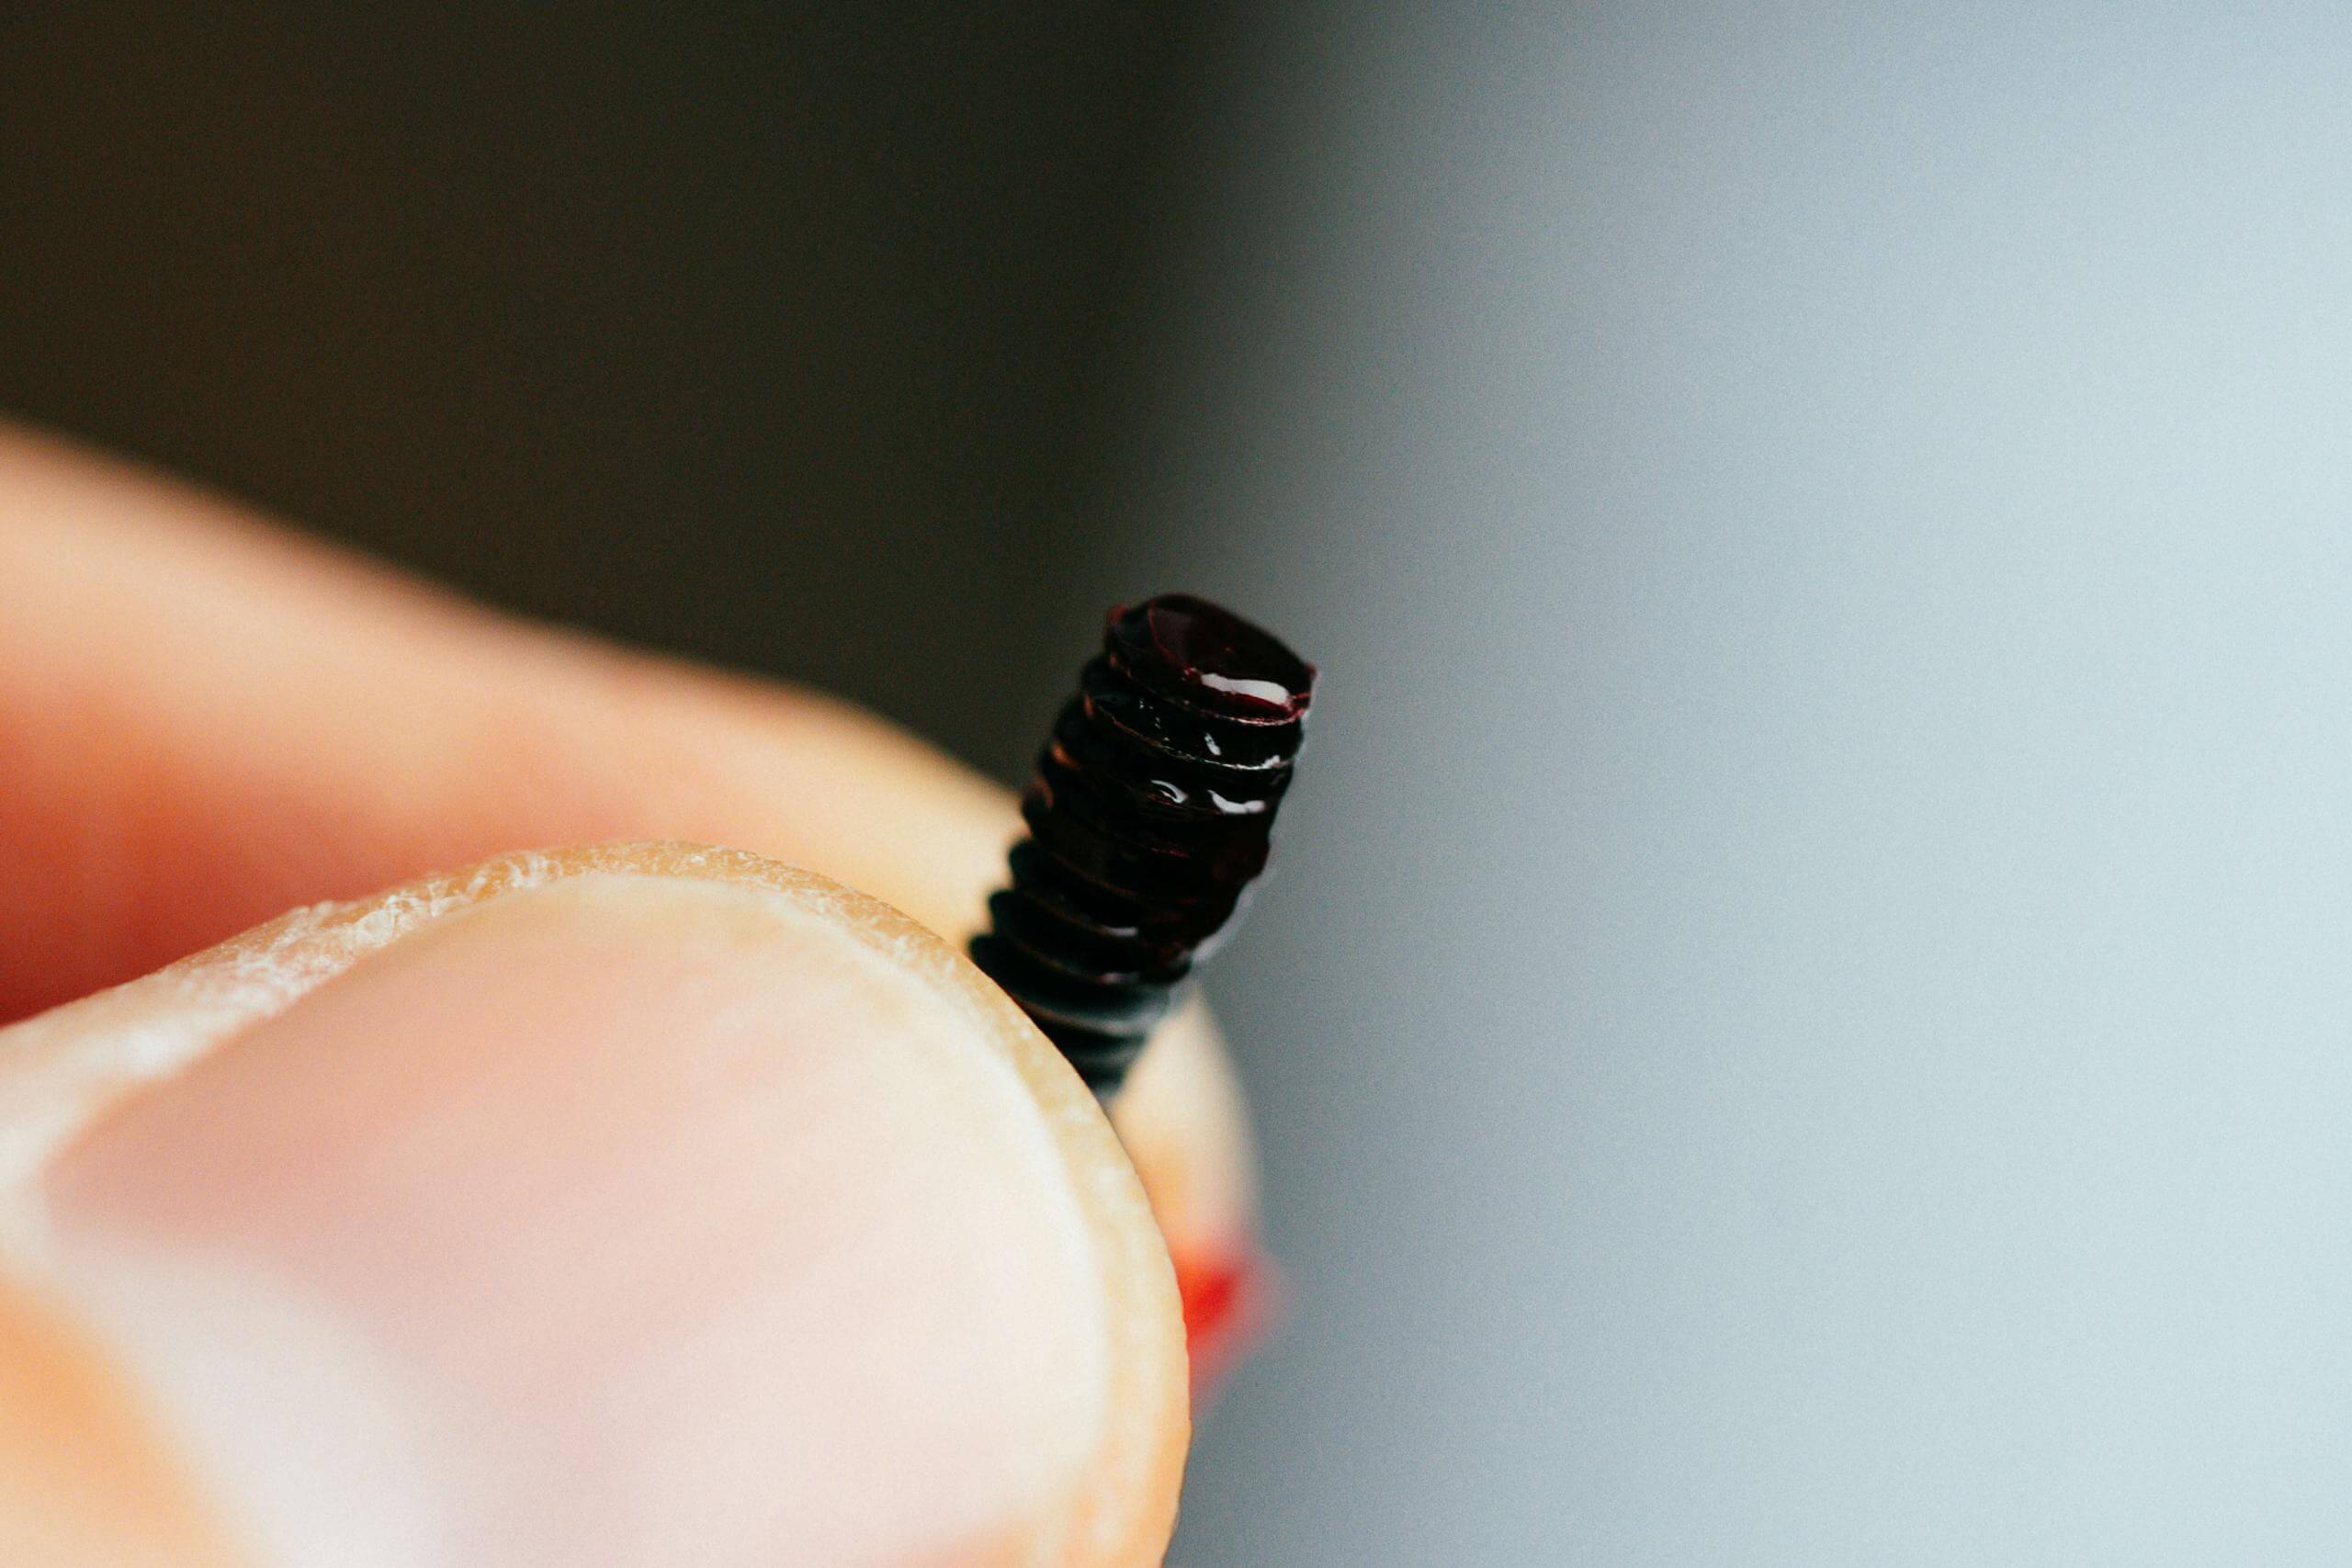
- This thread locker is “gooey” so I like to put some on a piece of paper and run the screw threads through it.
- Make sure you have an adequate amount and not too much applied.
- Let it cure for a few minutes to where it becomes gummy.
- Test Fit The Optic:
- Not all machining is the same so as a precaution just make sure the dot fits properly.
- Install the Red Dot Sight:
- Place the dot on the slide.
- Using the Allen key install the screws with some patience. Once you’ve hand tightened them enough grab the Wheeler wrench or your torque wrench.
- Tighten:
- The biggest mistake most people make is over tightening the screws which usually results with you stripping the head of the screw.
- If your slide included instructions including torque specs use that or the optic manufacturers recommendations.
- Set your torque wrench and tighten!!
- Final Check:
- Hold the slide with one hand to prevent movement and with the other hand just give the optic a good tug to see if it moves at all.
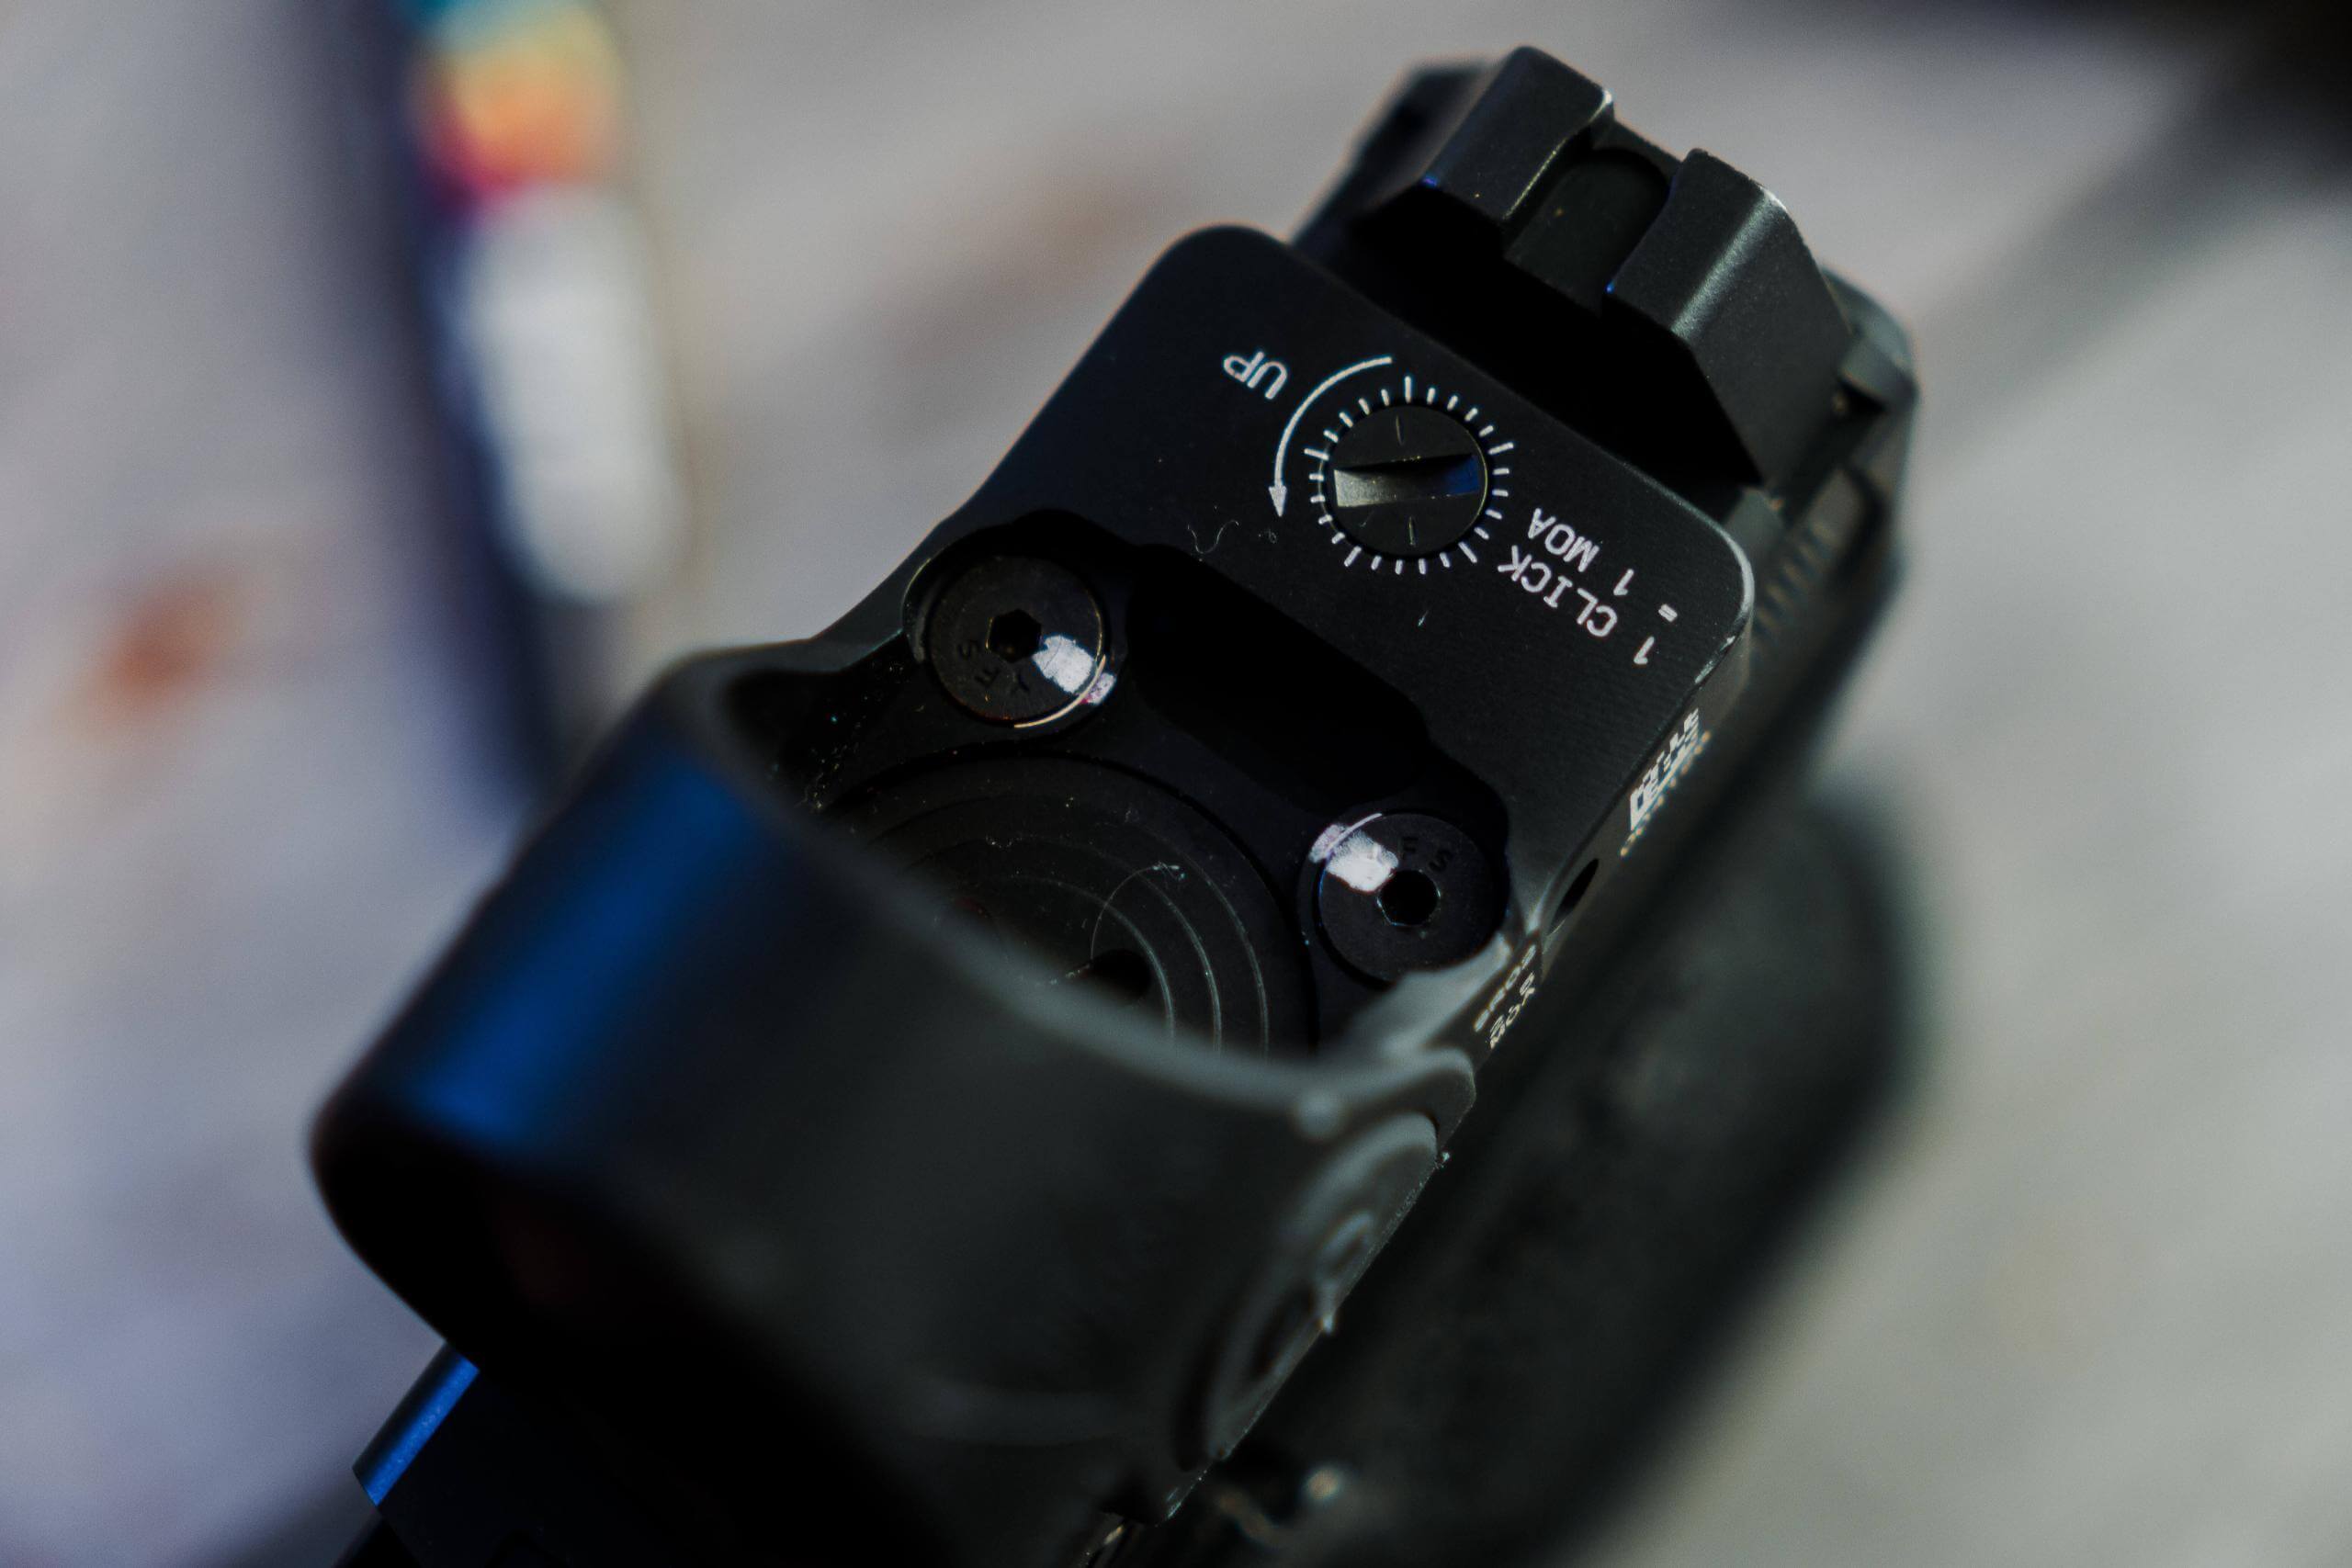
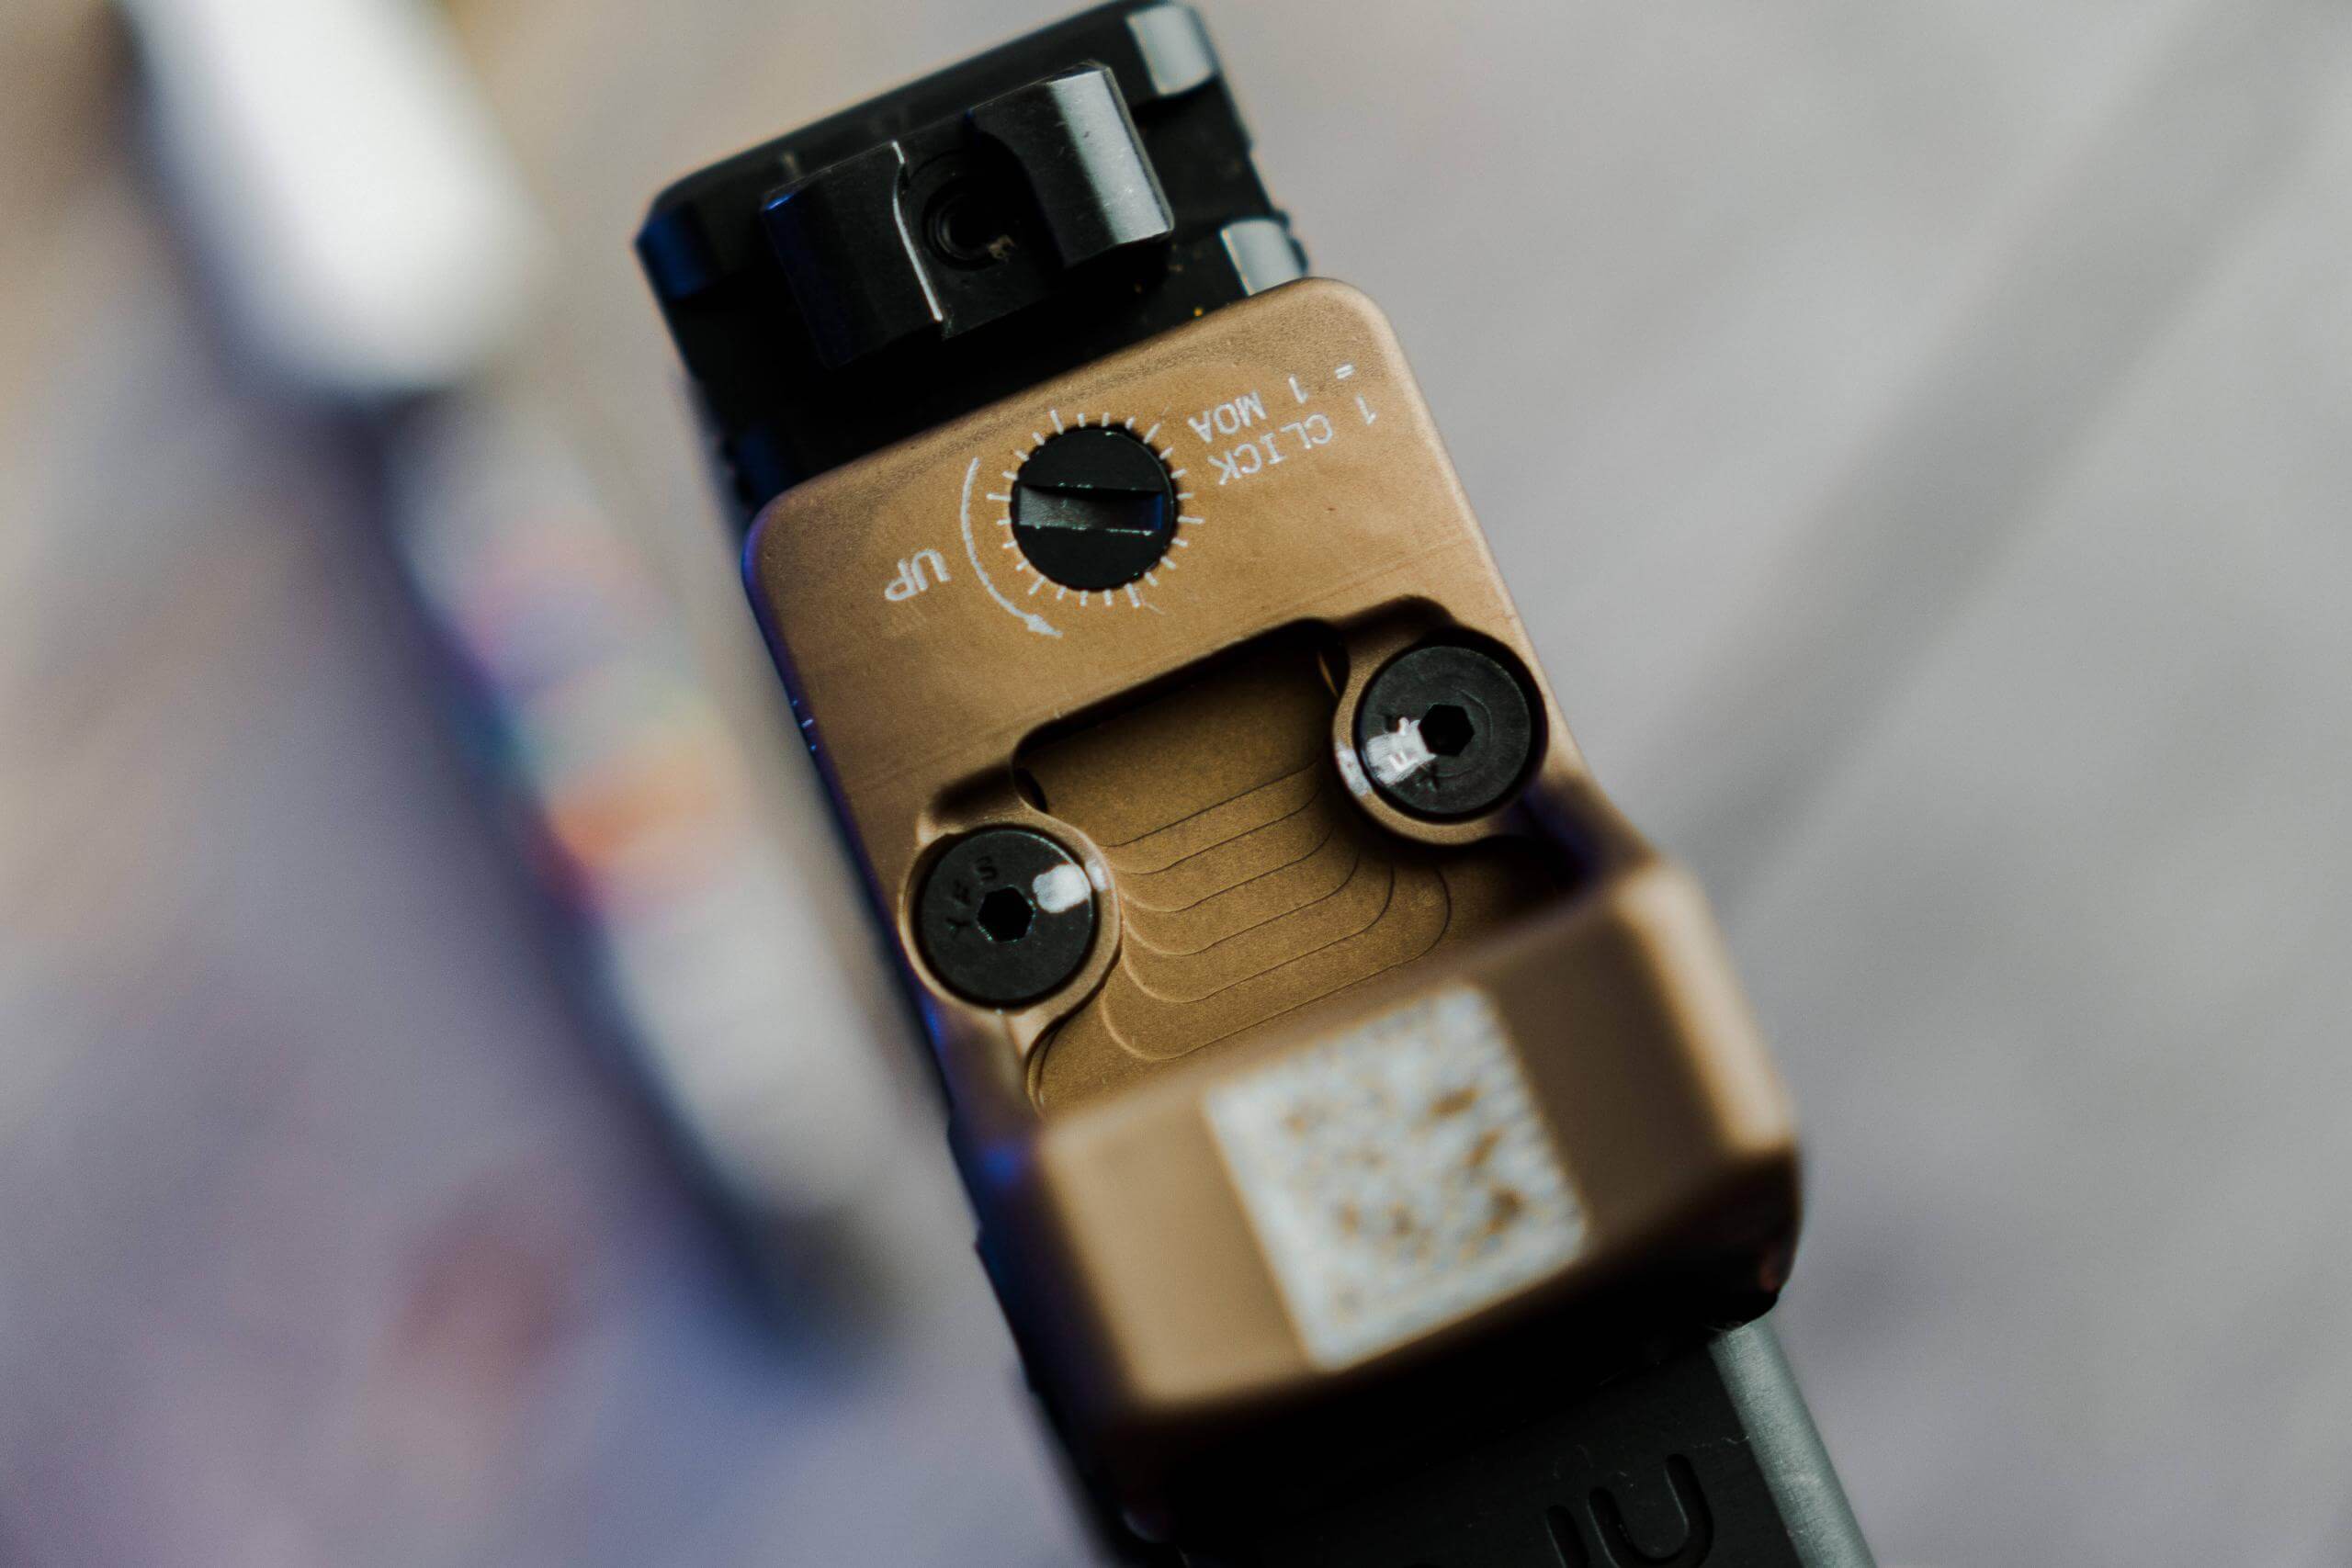
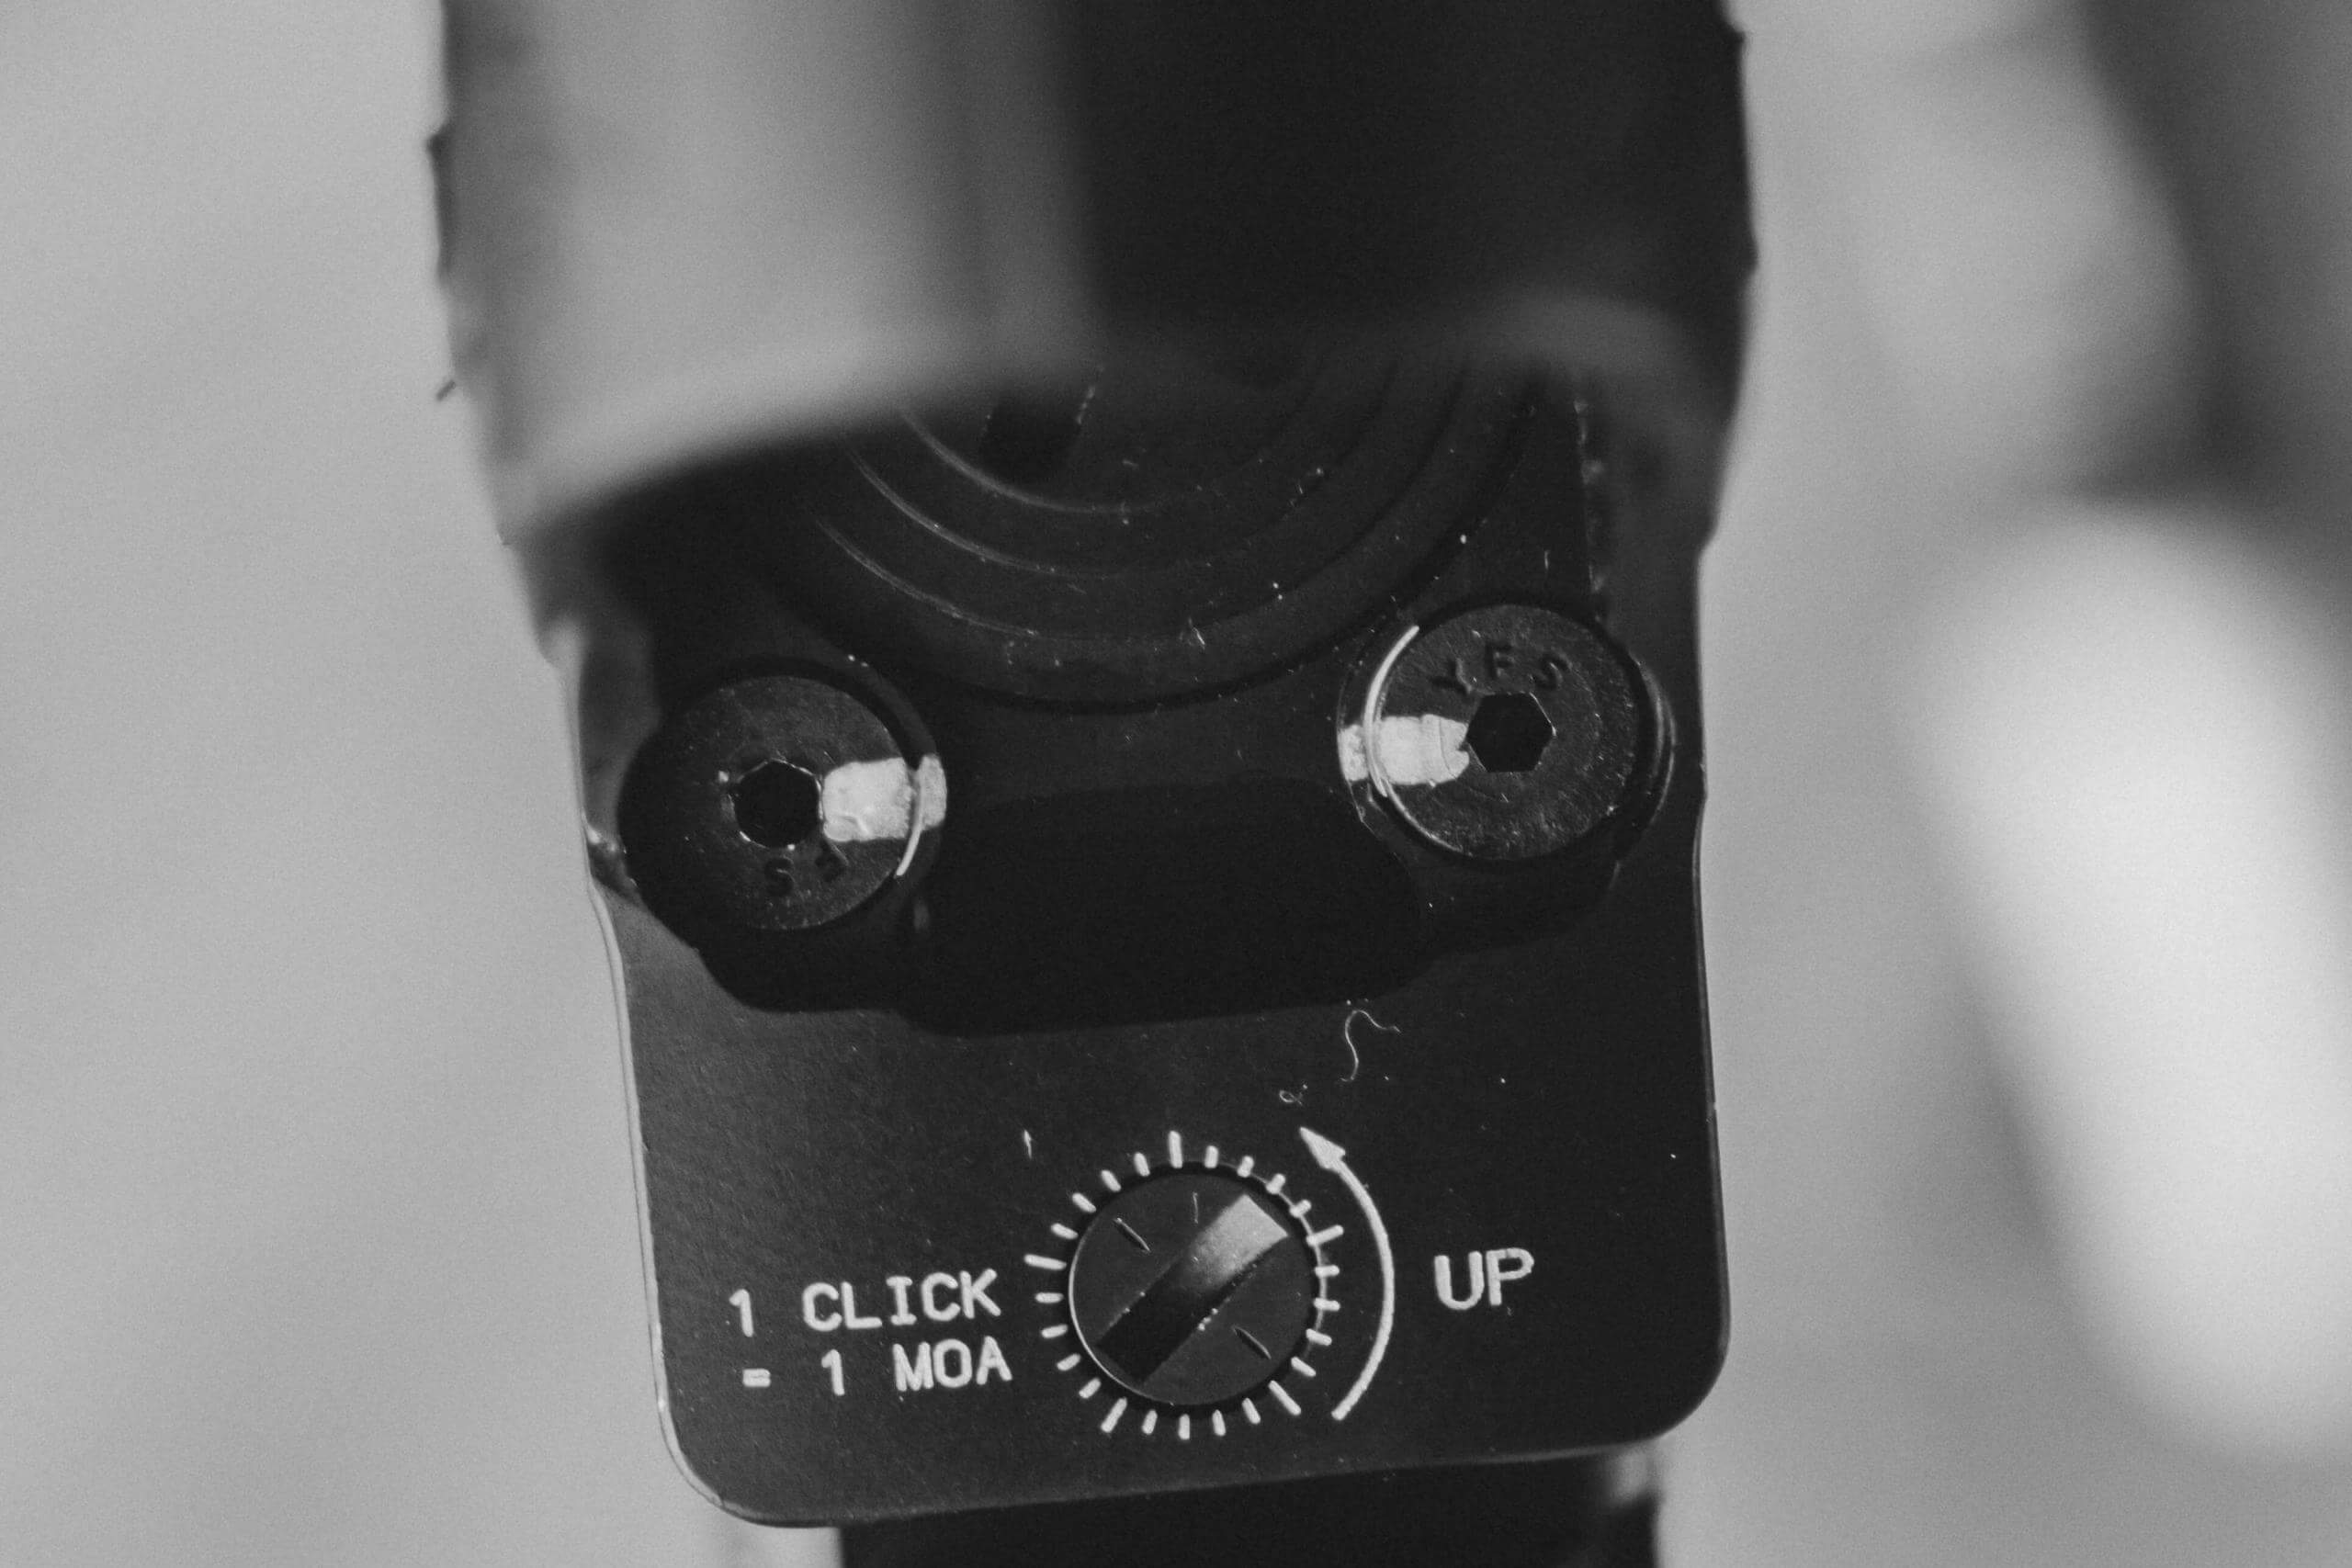
- Witness Marks:
- Simply put witness marks make it easy to check if your screws are backing or shifting after you shoot. This is a quick reference to make sure your dot is always secured.
- Make sure you clean the screws to remove any grease with an alcohol wipe if possible to ensurer the marker sticks properly.
- So give your paint marker a shaky shake and simple apply a straight line on the screw running onto the optic.
- You’re welcome.
As much as I’d enjoy delving into lubing up screws and mounting dots, I’m afraid I’m running late to pick up someone’s mom.