Whether you don’t want to pay for cerakote or had hidden ambitions to be an artist rattle canning your rifle can serve both practical and aesthetic purposes. From camouflaging your weapon to match specific environments or simply adding a personal touch, the process requires attention to detail and patience but is very simple however feel free to modify it to suit your needs.
When it comes to selecting paint and colors let your creativity run wild. I prefer the Krylon brand however as long as its “matte” finish I am good with it. One thing to consider Picasso are the colors of your surroundings for effective camouflage if that is important to you.
Before starting, ensure the rifle is unloaded with no ammunition anywhere near your work space then remove your Bolt Carrier Group (BCG) and Charging Handle (CH).
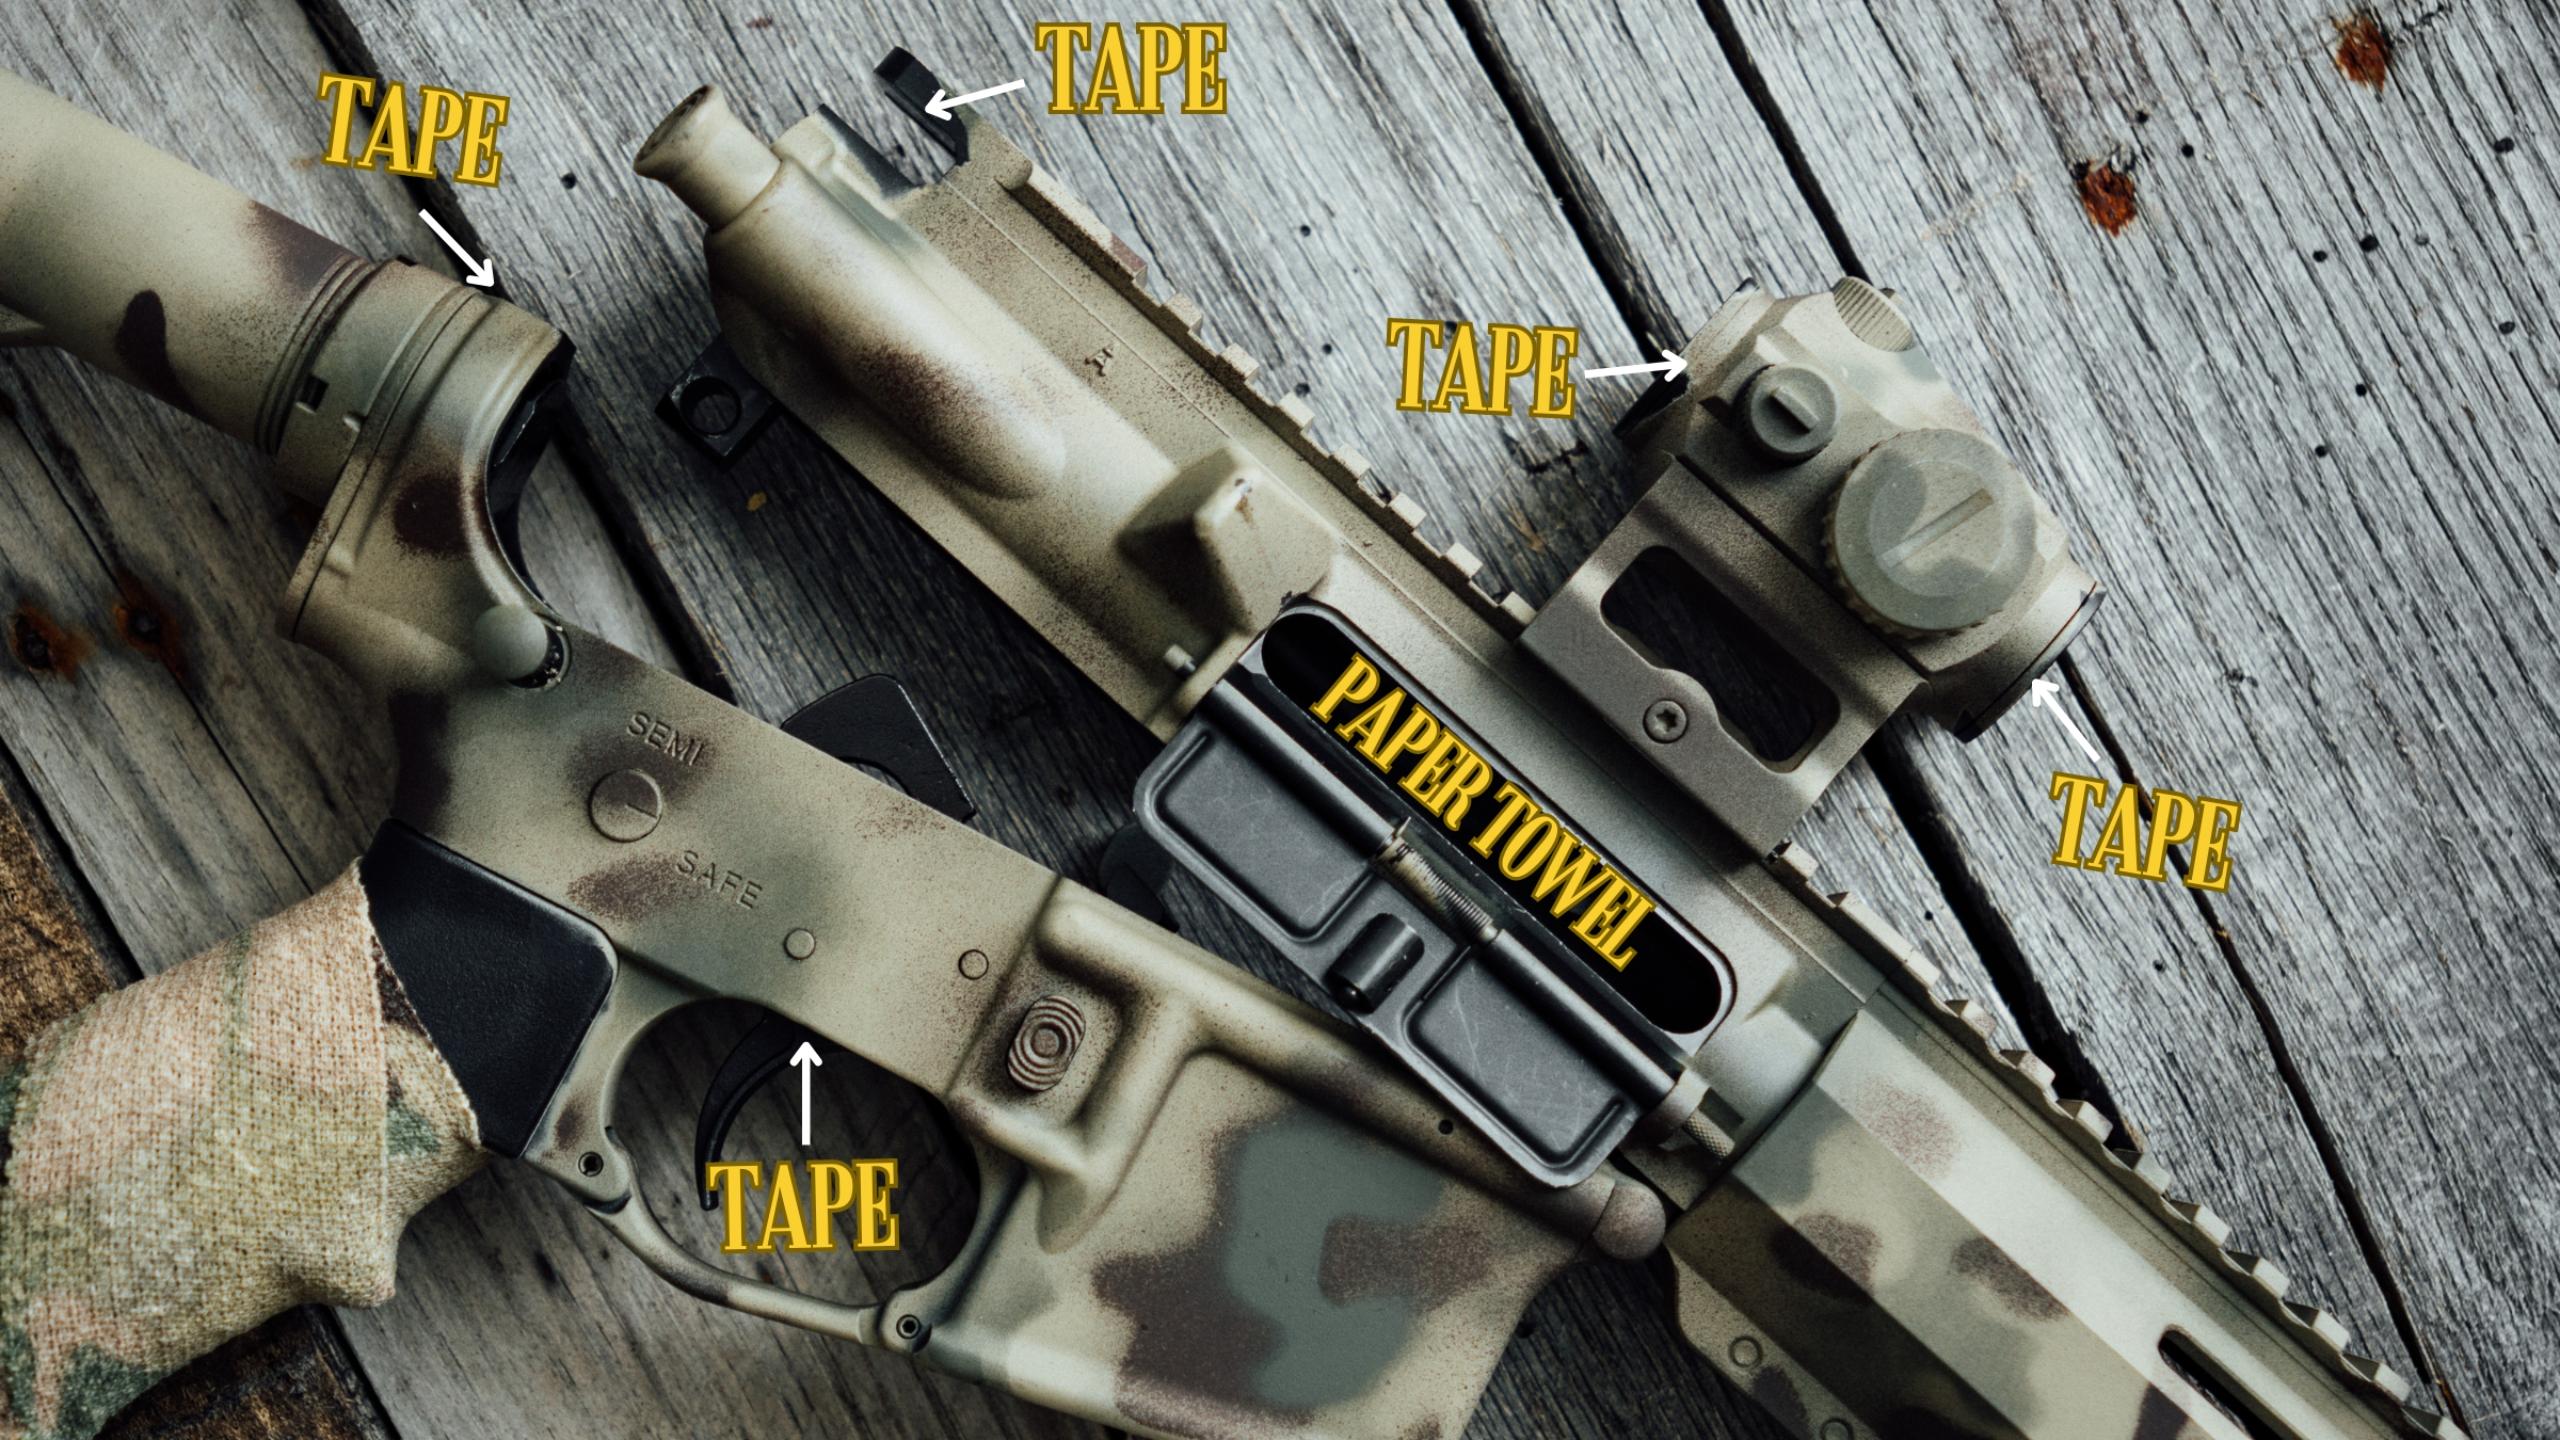
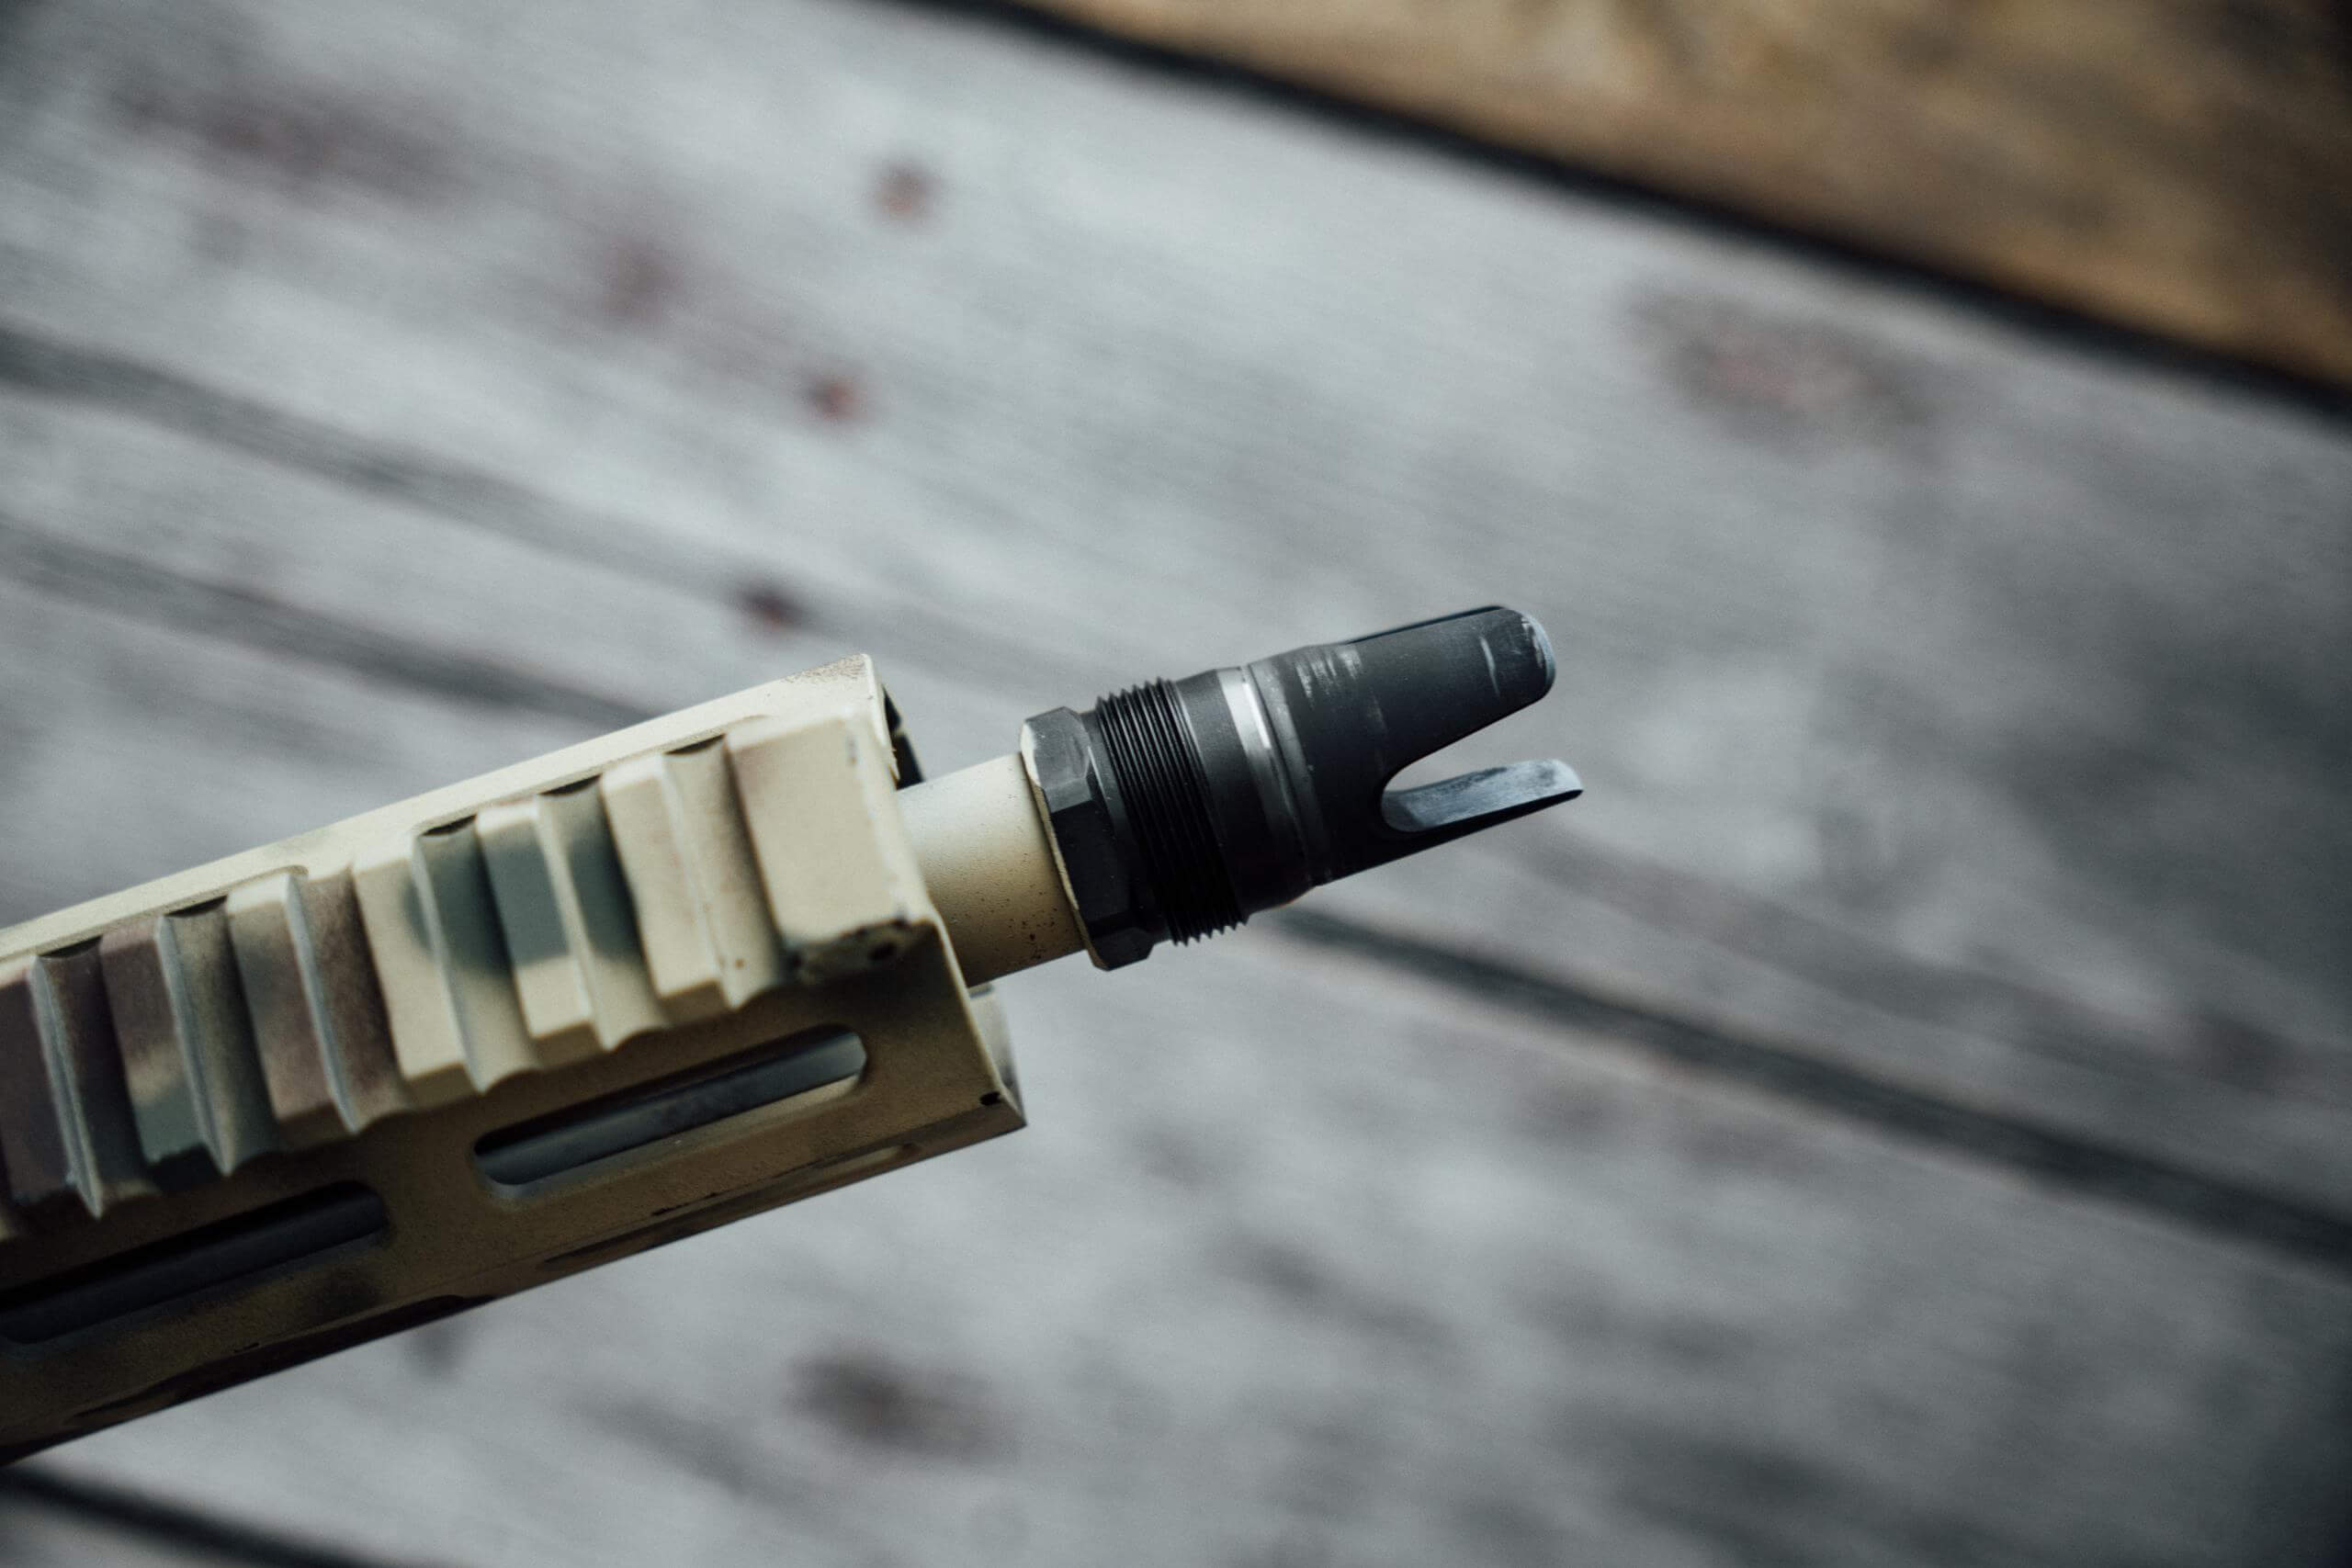
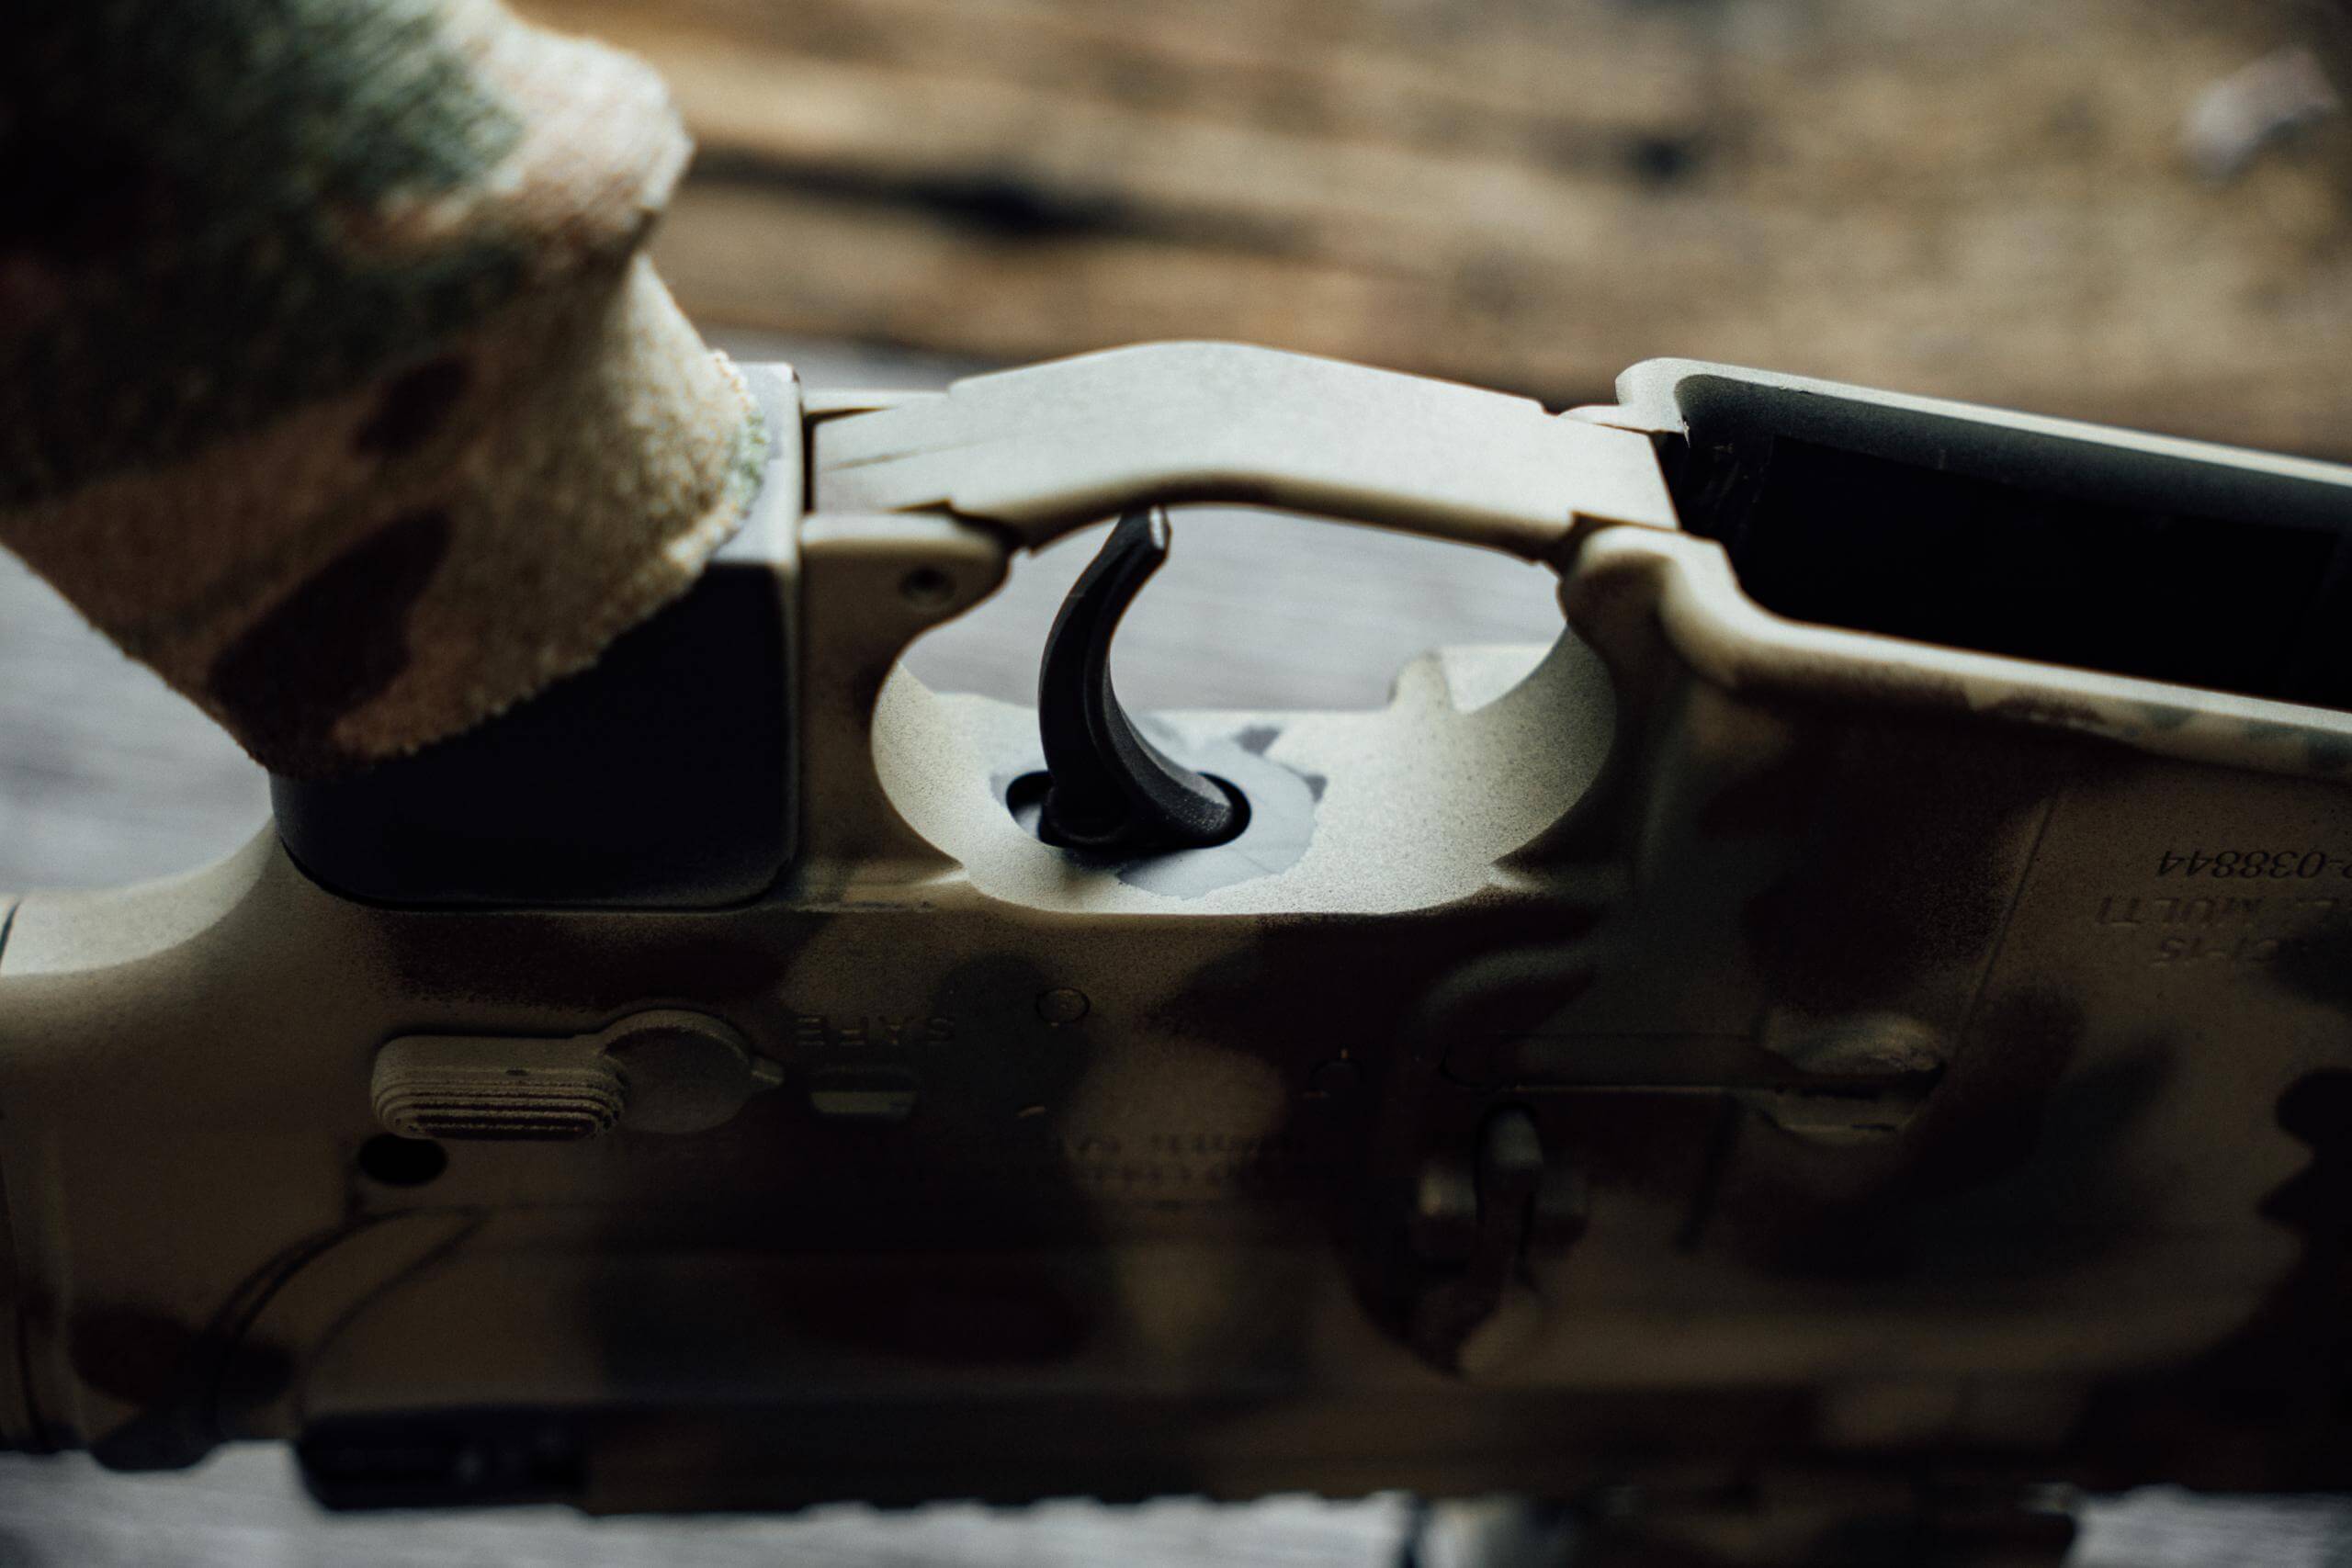
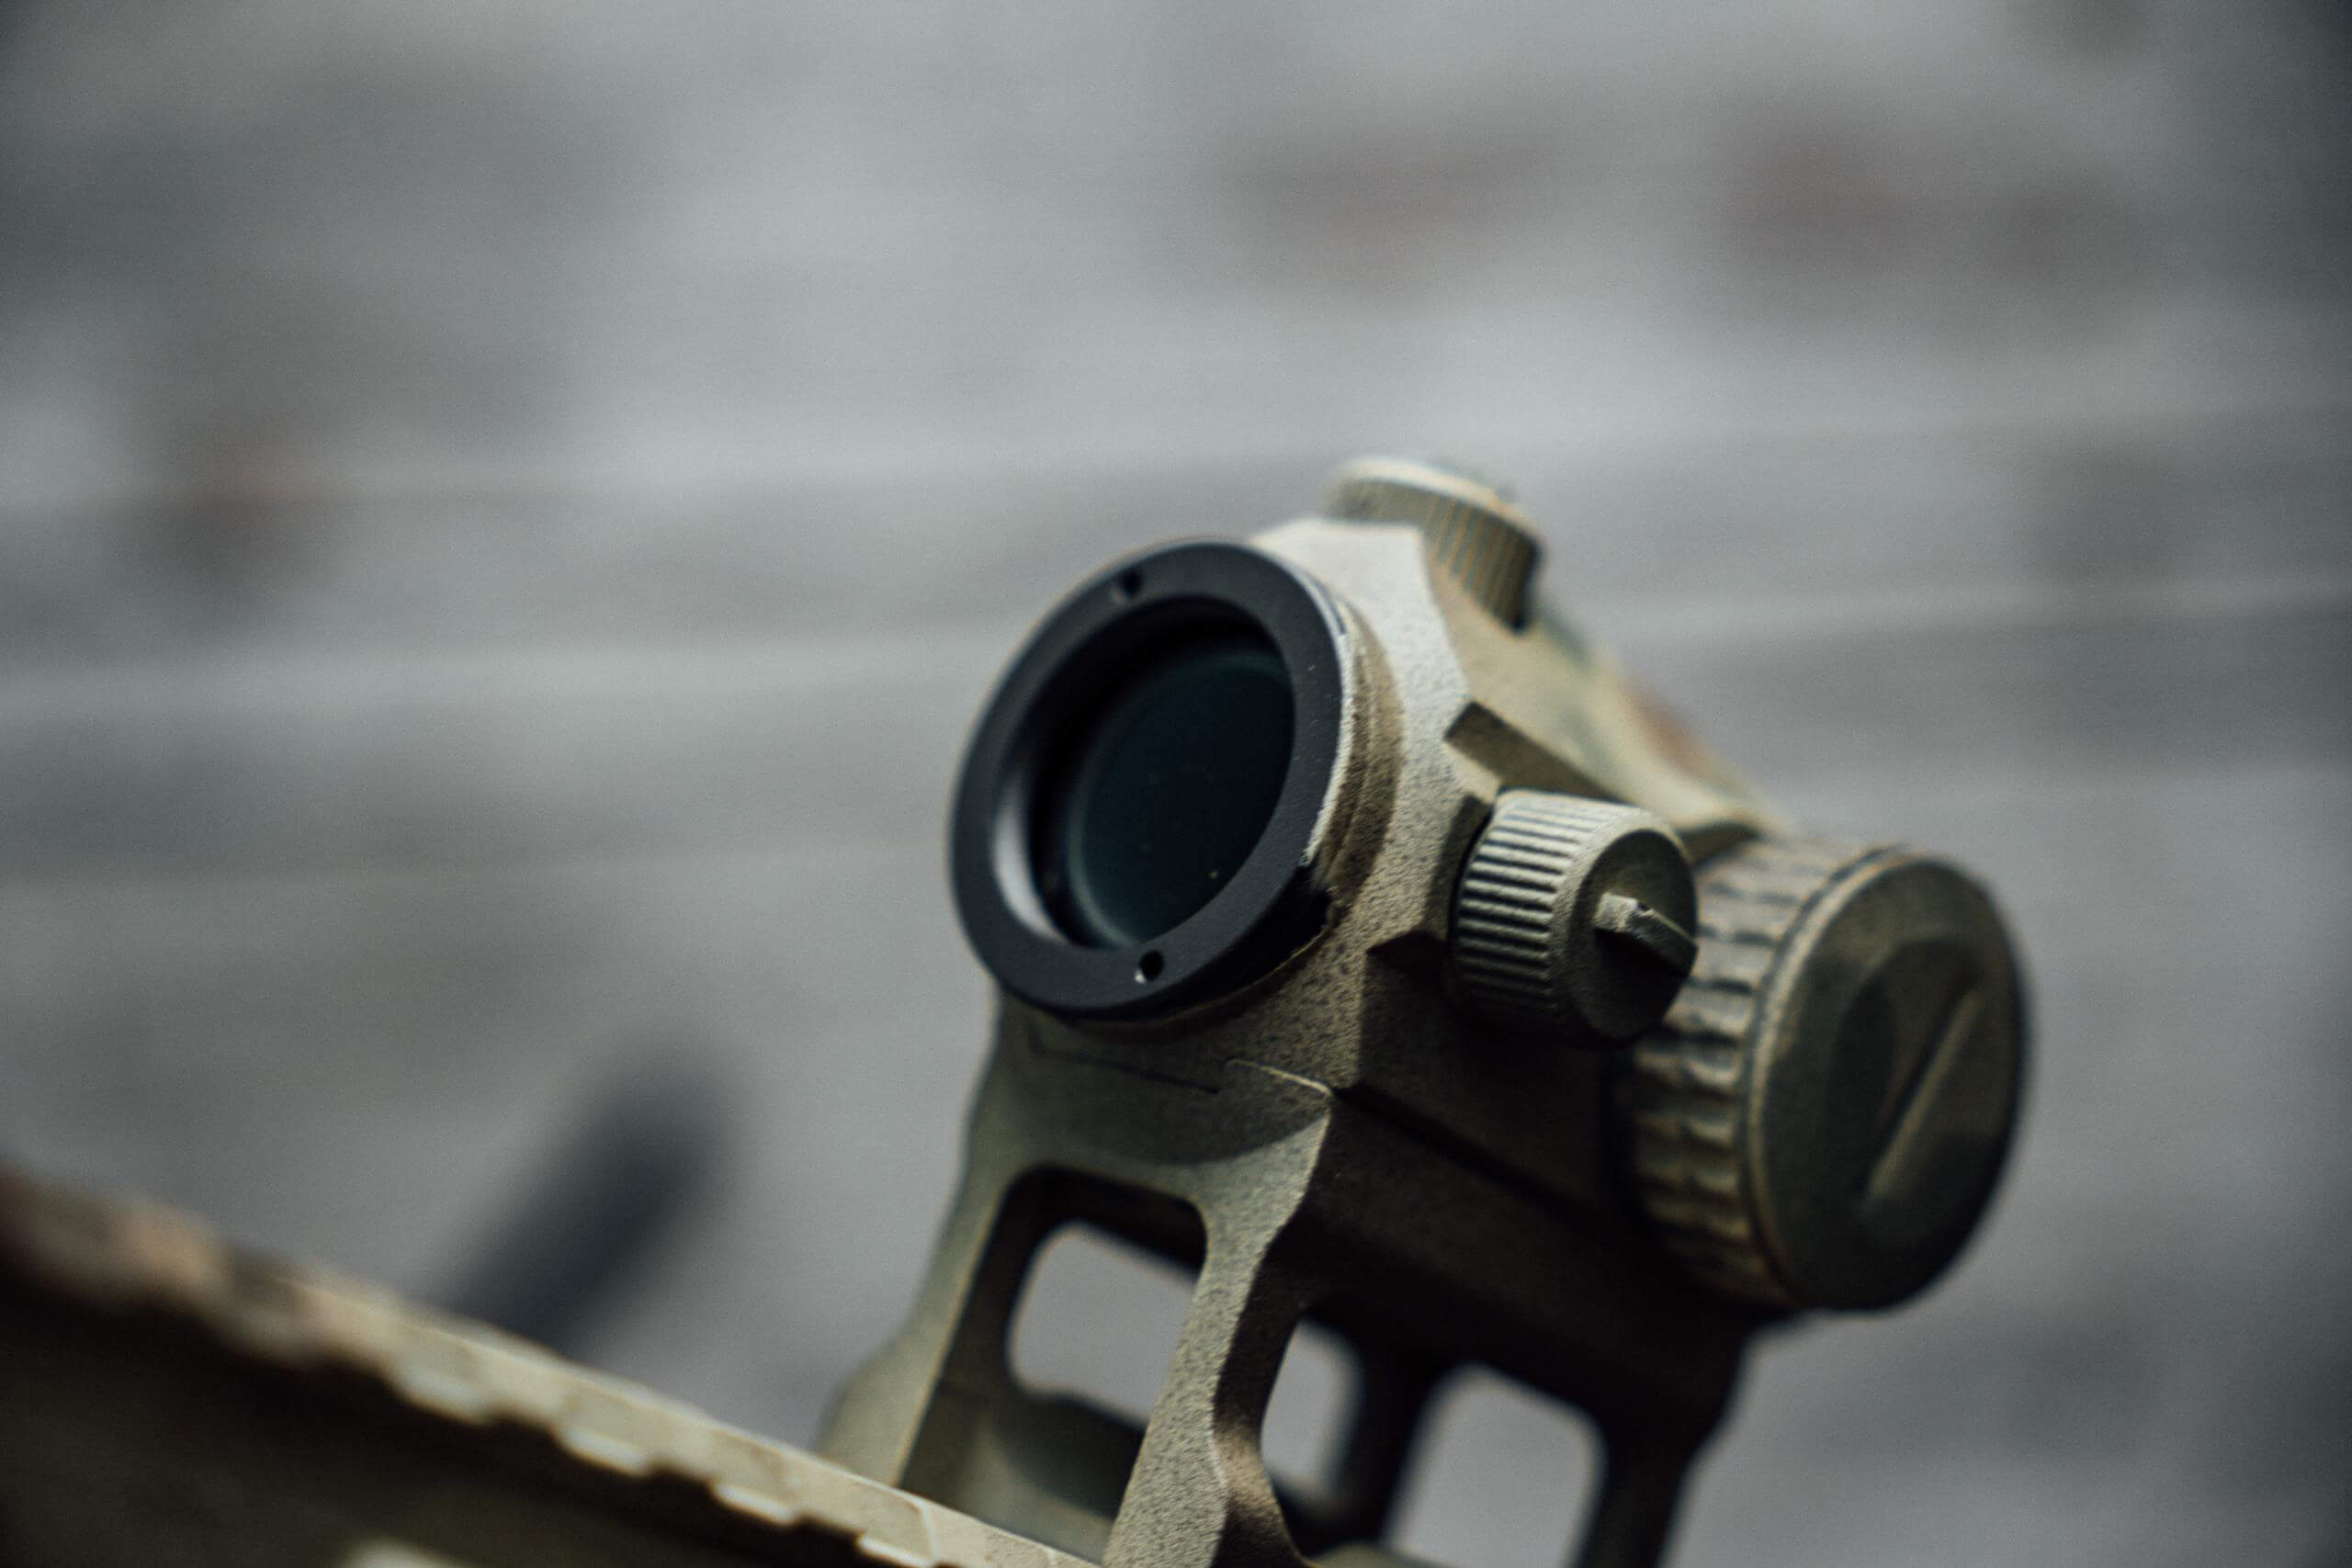
Begin by degreasing your rifle, this can be extremely time consuming or if you’re like me just get a little rubbing alcohol on a towel and just wipe it down. Once this is done and the rifle is dry you tape up the sensitive parts. I remove the charging handle and BCG however I know some paint the CH. Use blue painters tape and cover the trigger, trigger hole, charging handle and muzzle device. If you’re painting optics make sure to tape up the sensitive parts, I just covered the front and rear glass. Roll up a paper towel or whatever and stuff it into the upper receiver to catch any paint that may penetrate the dust cover.
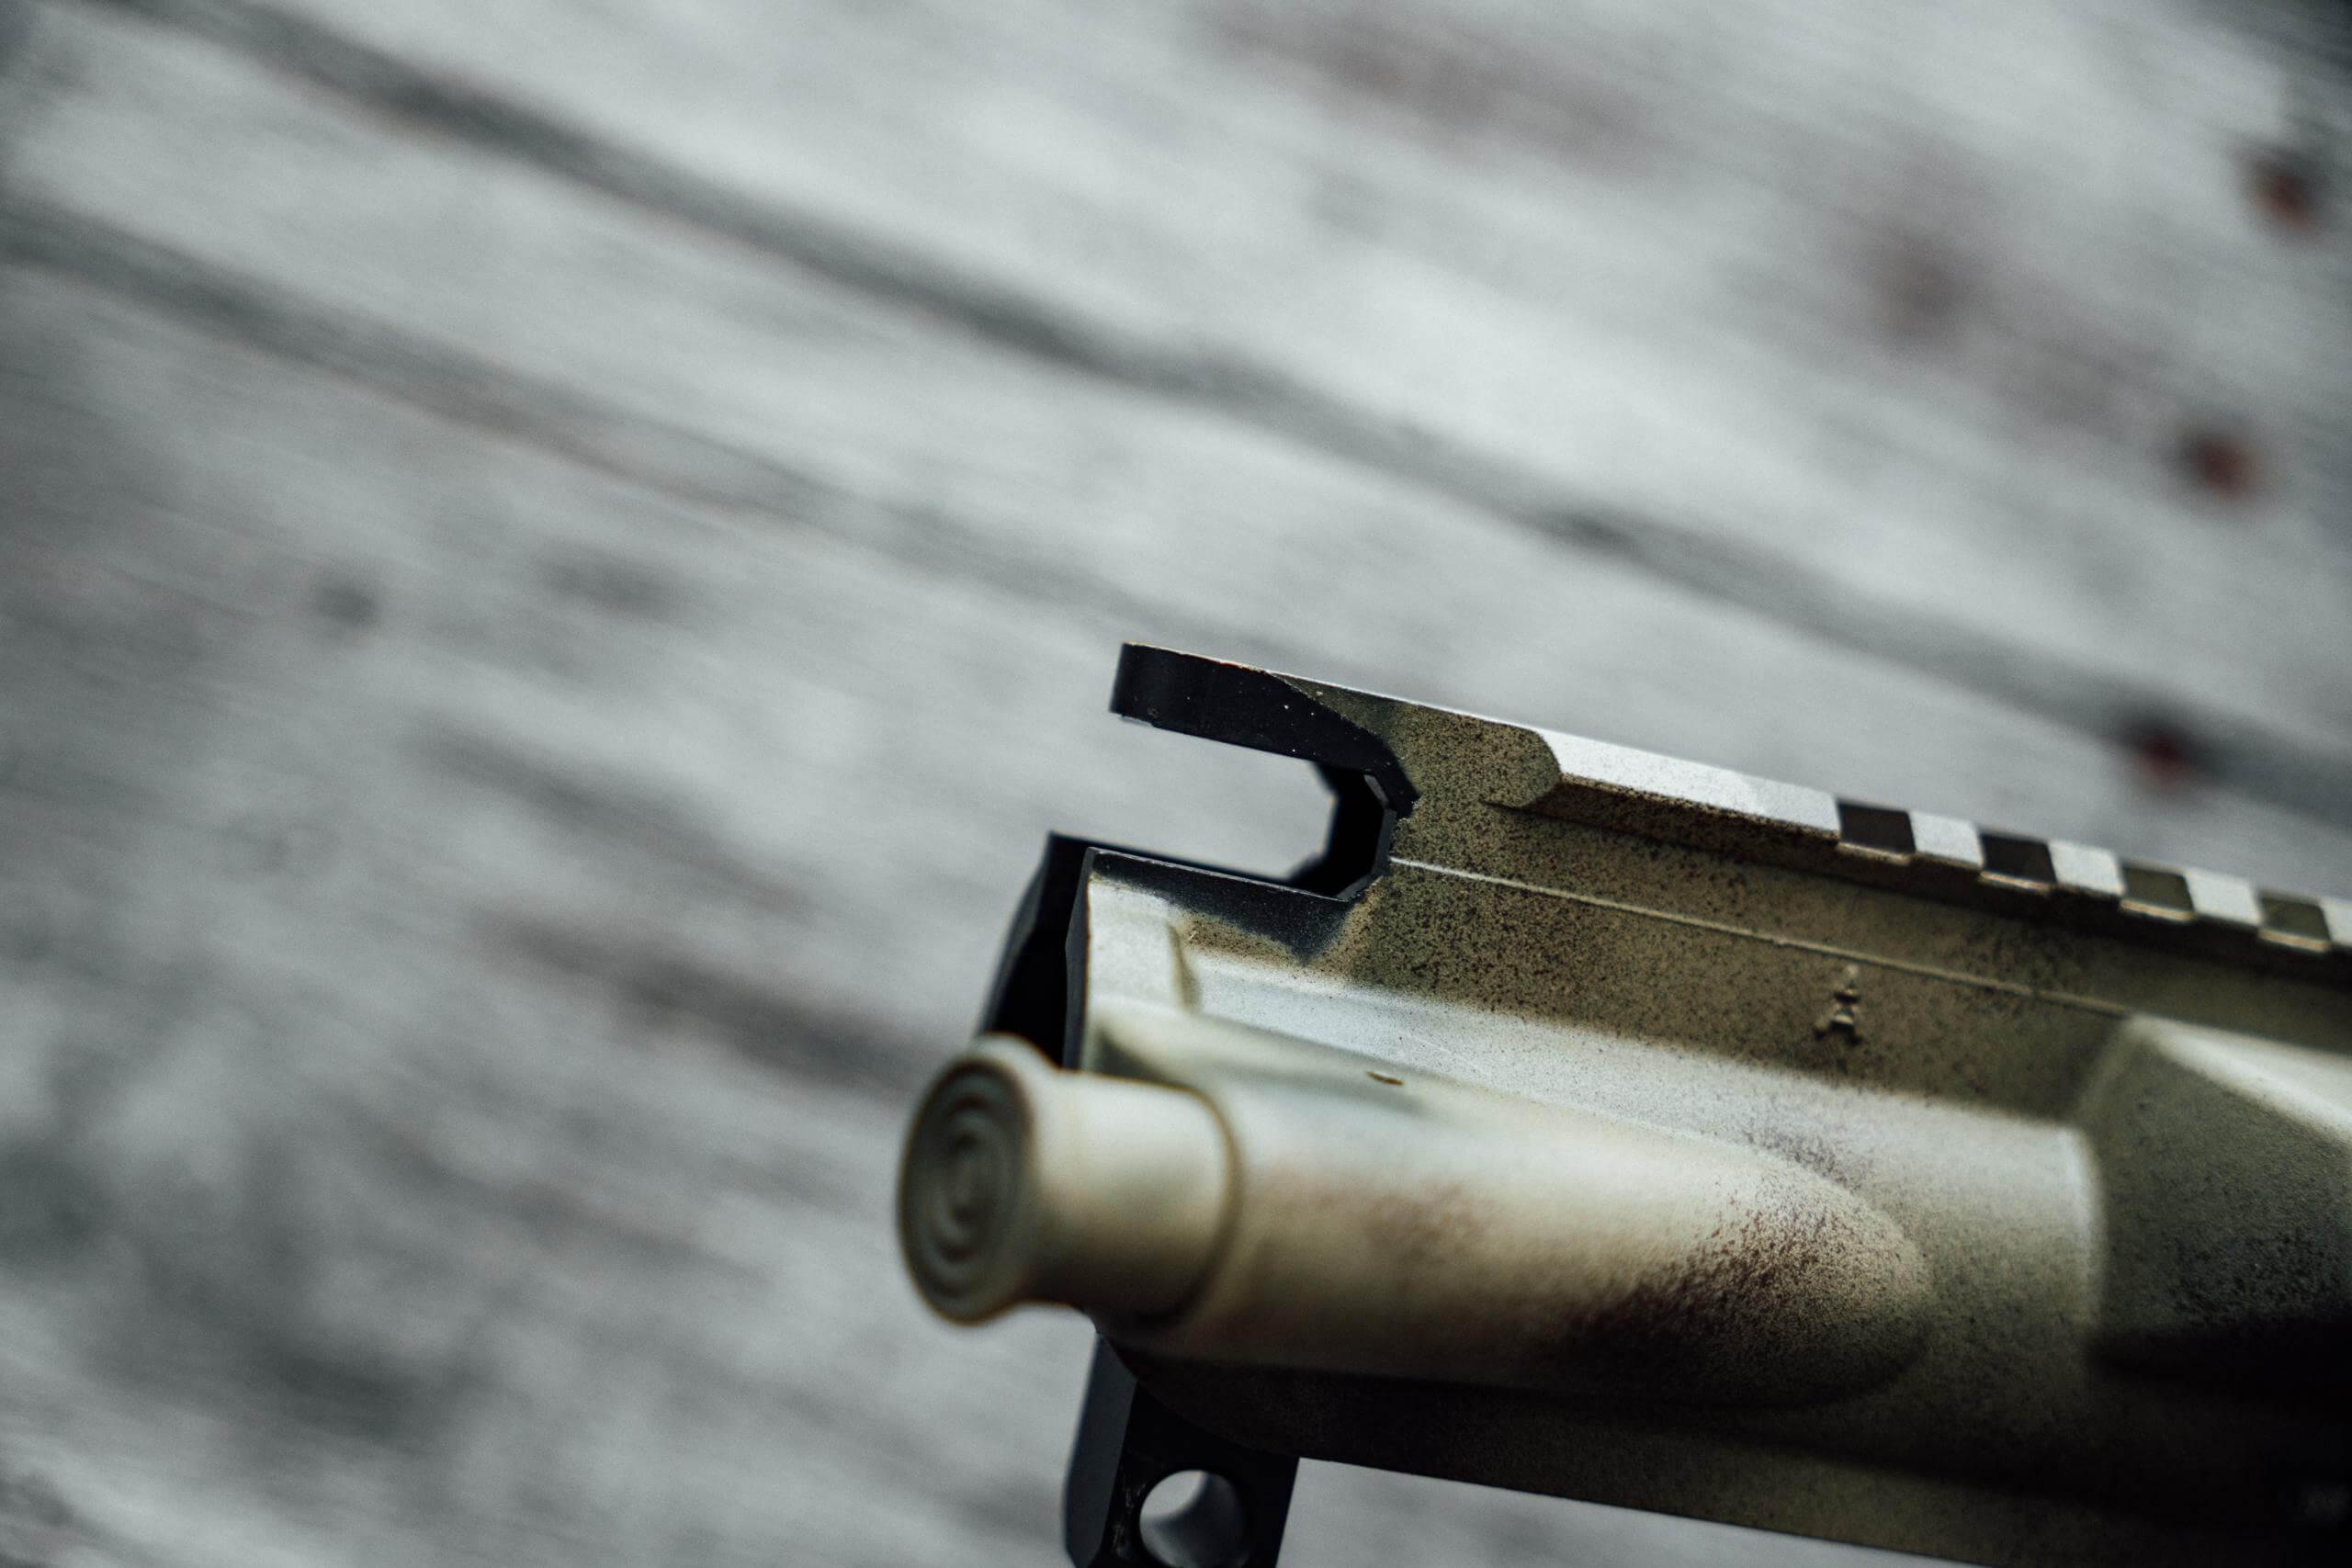
Always start out with your base coat, for this rifle I went with FDE.
Begin with light coats, allowing each layer to dry completely before applying the next. Allowing each layer to dry is extremely important to make sure you don’t end up with a “gummy” texture.
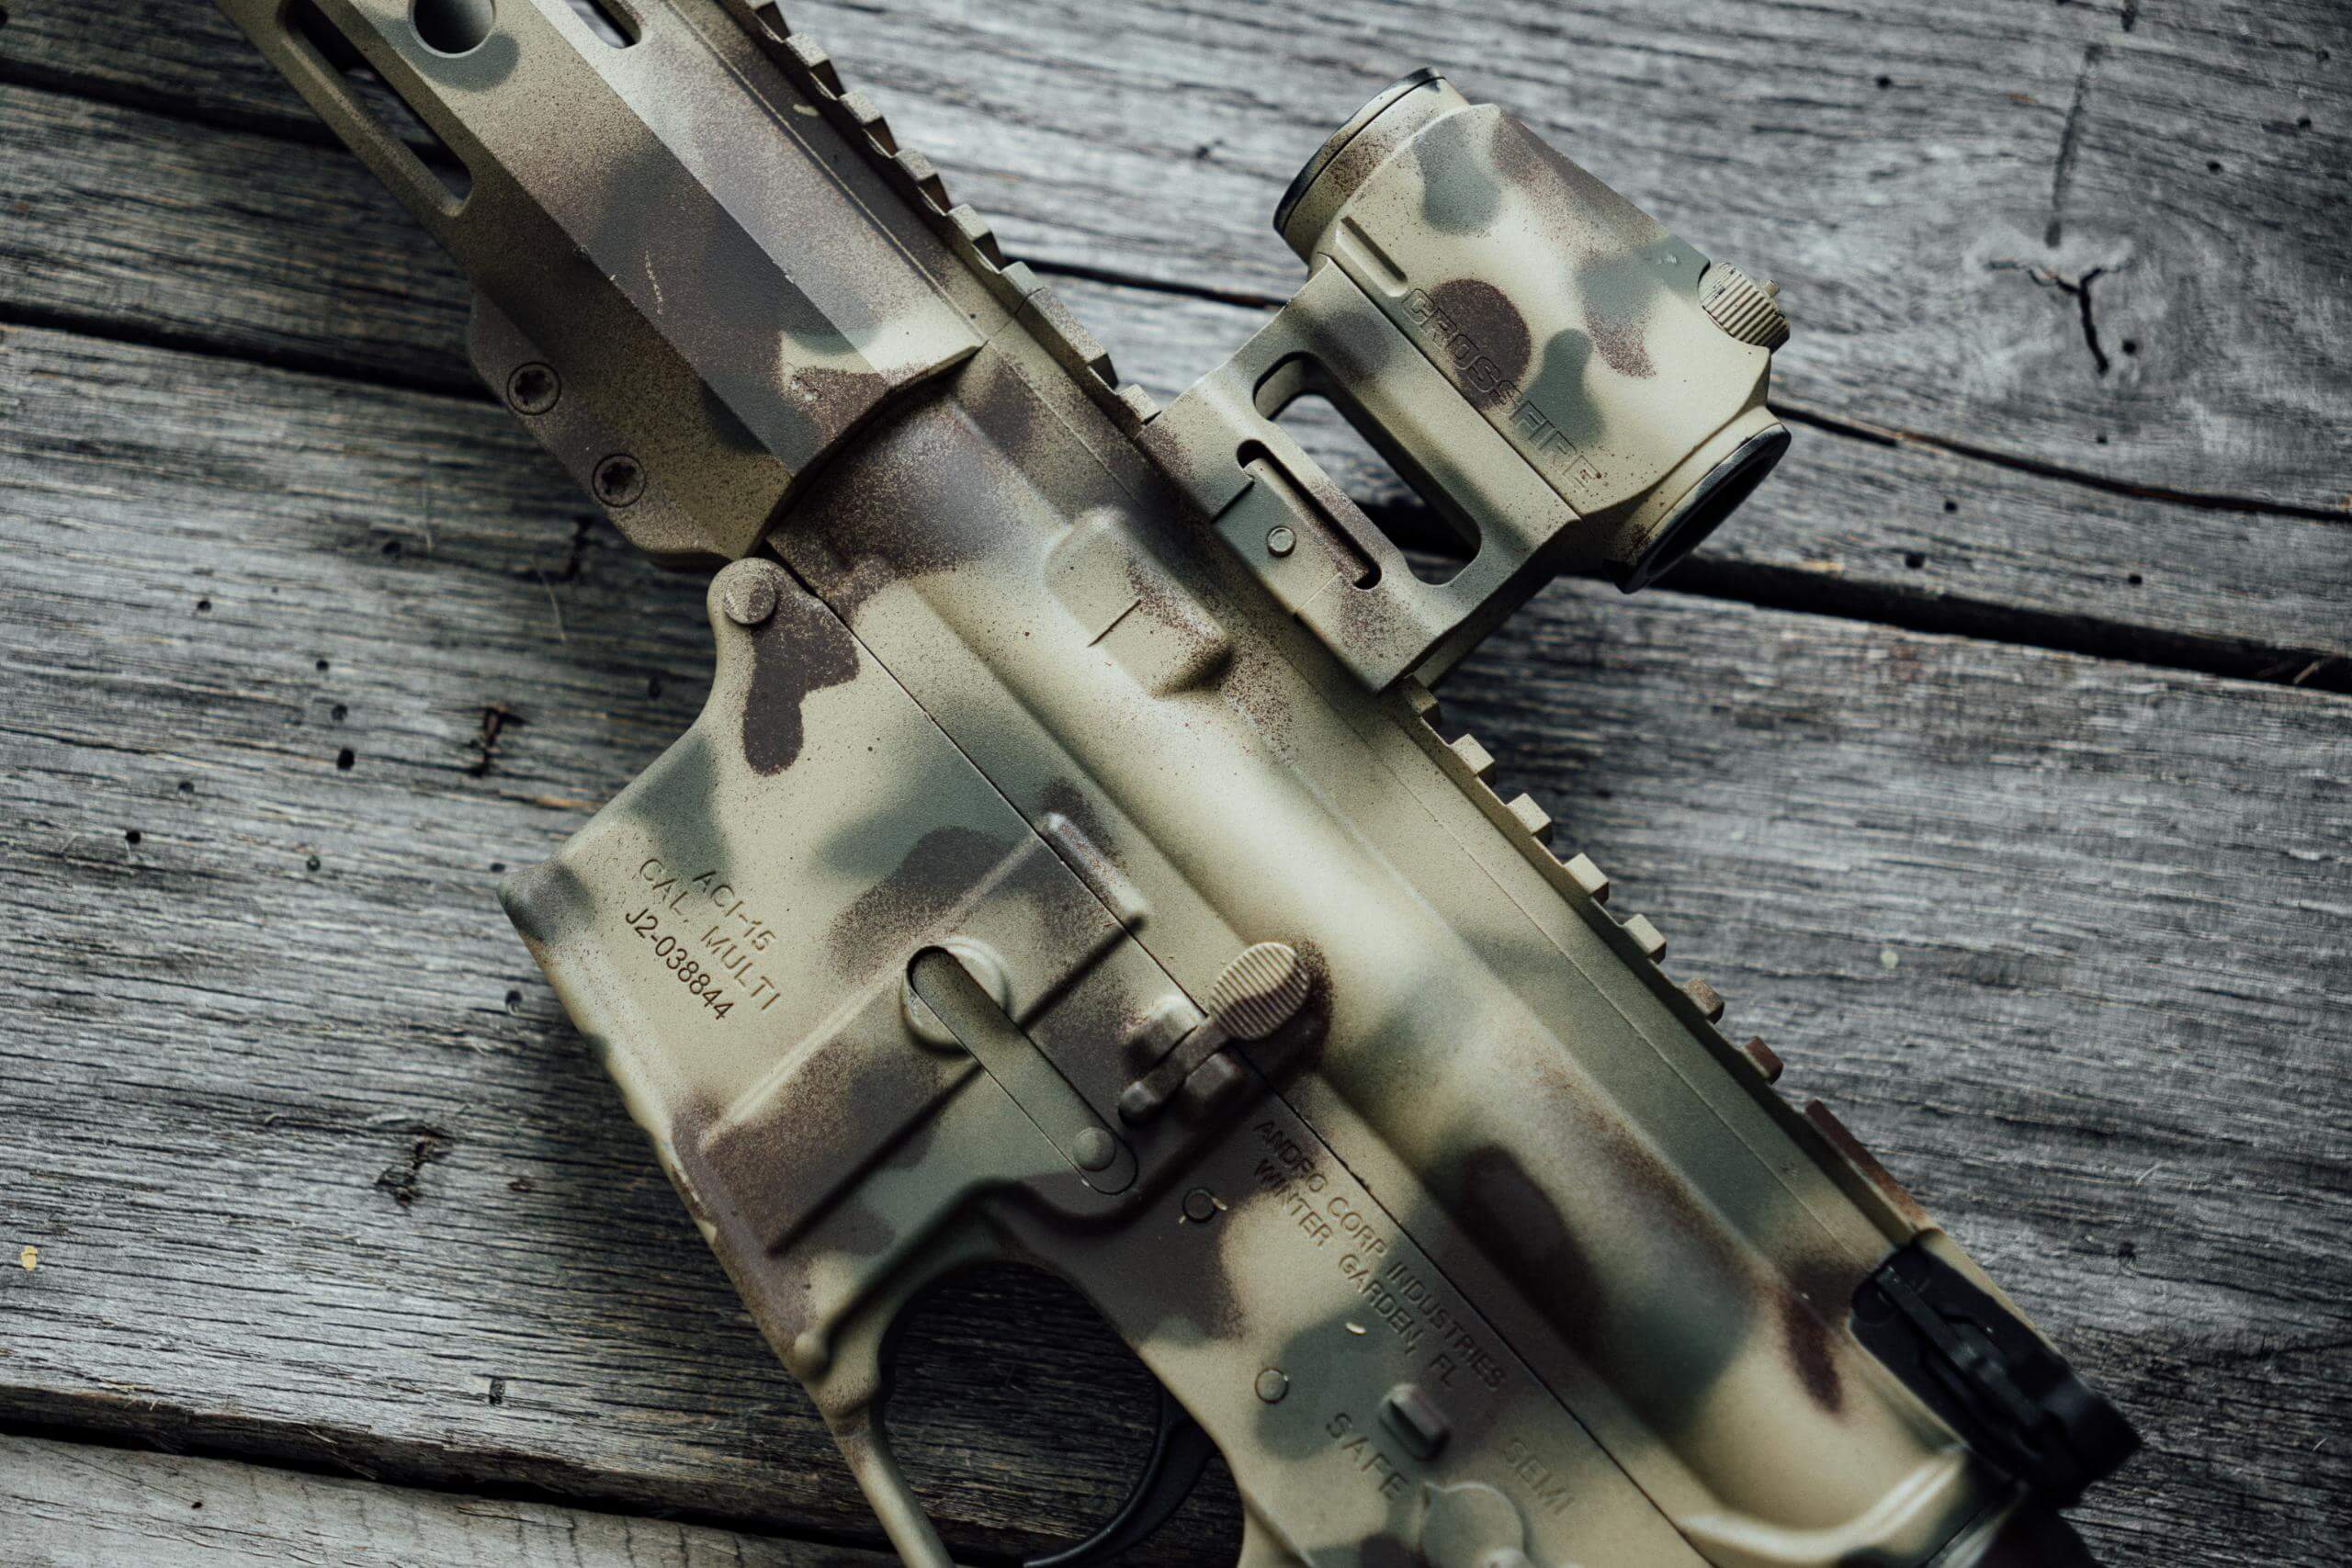
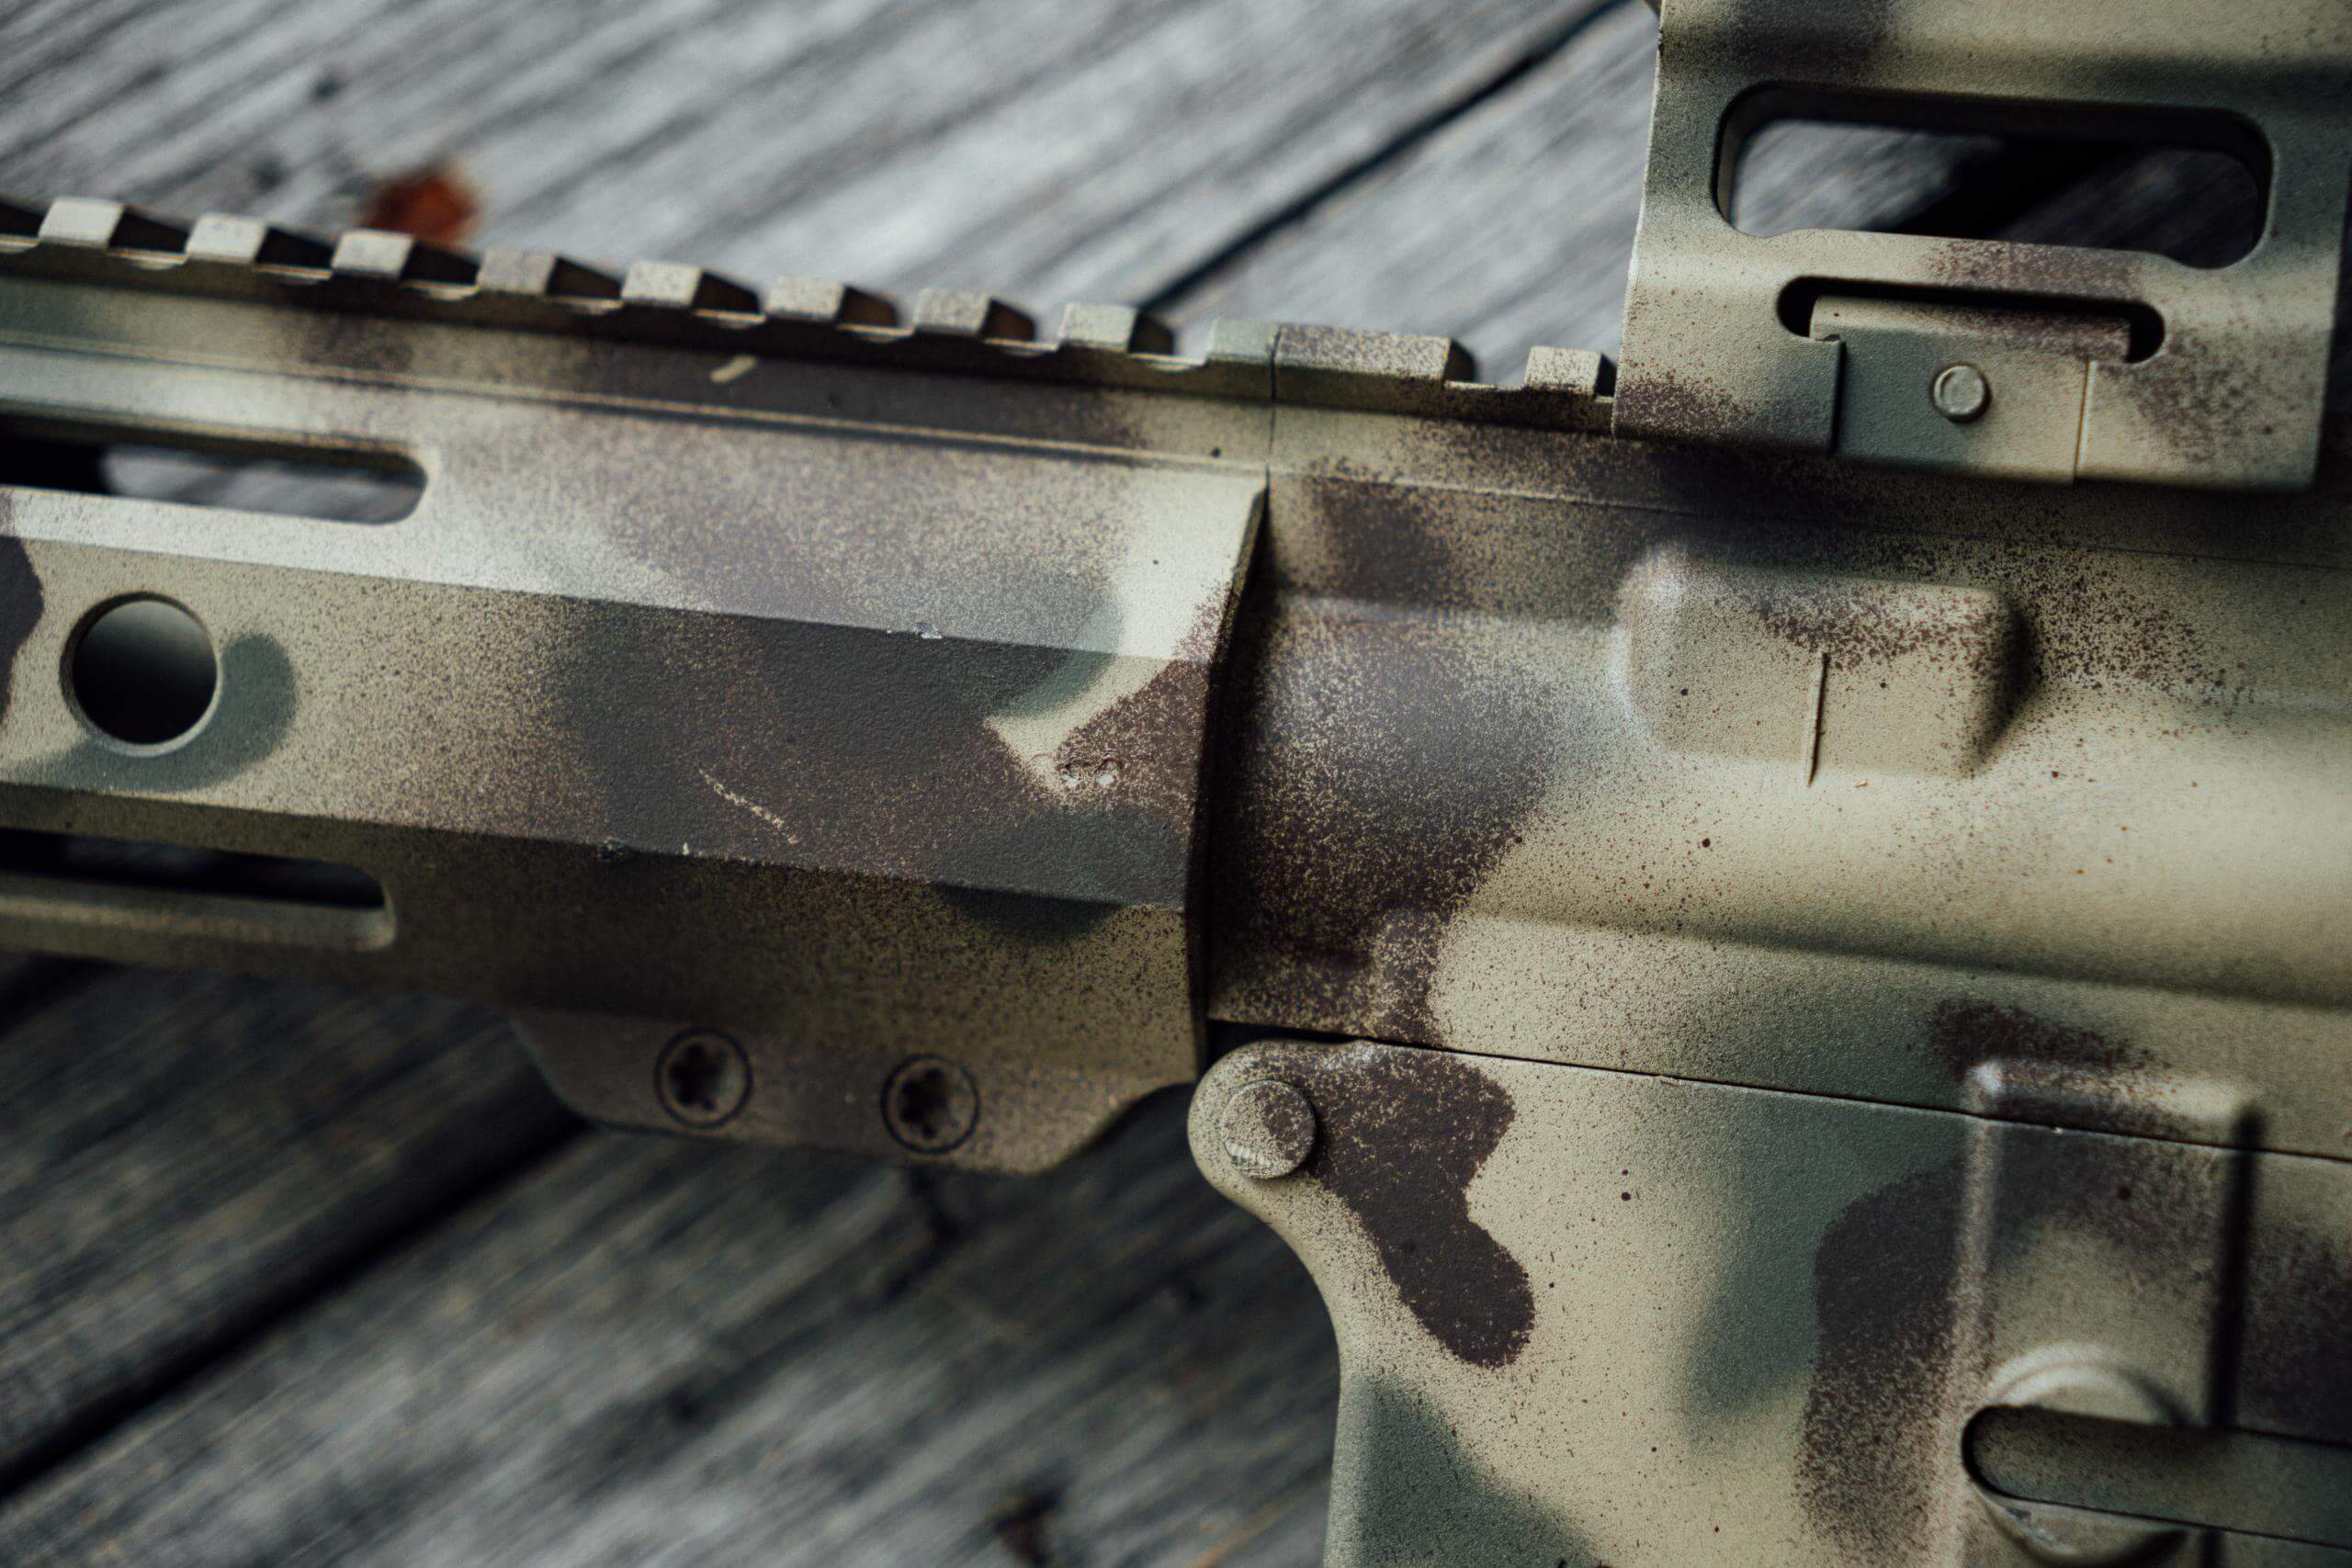
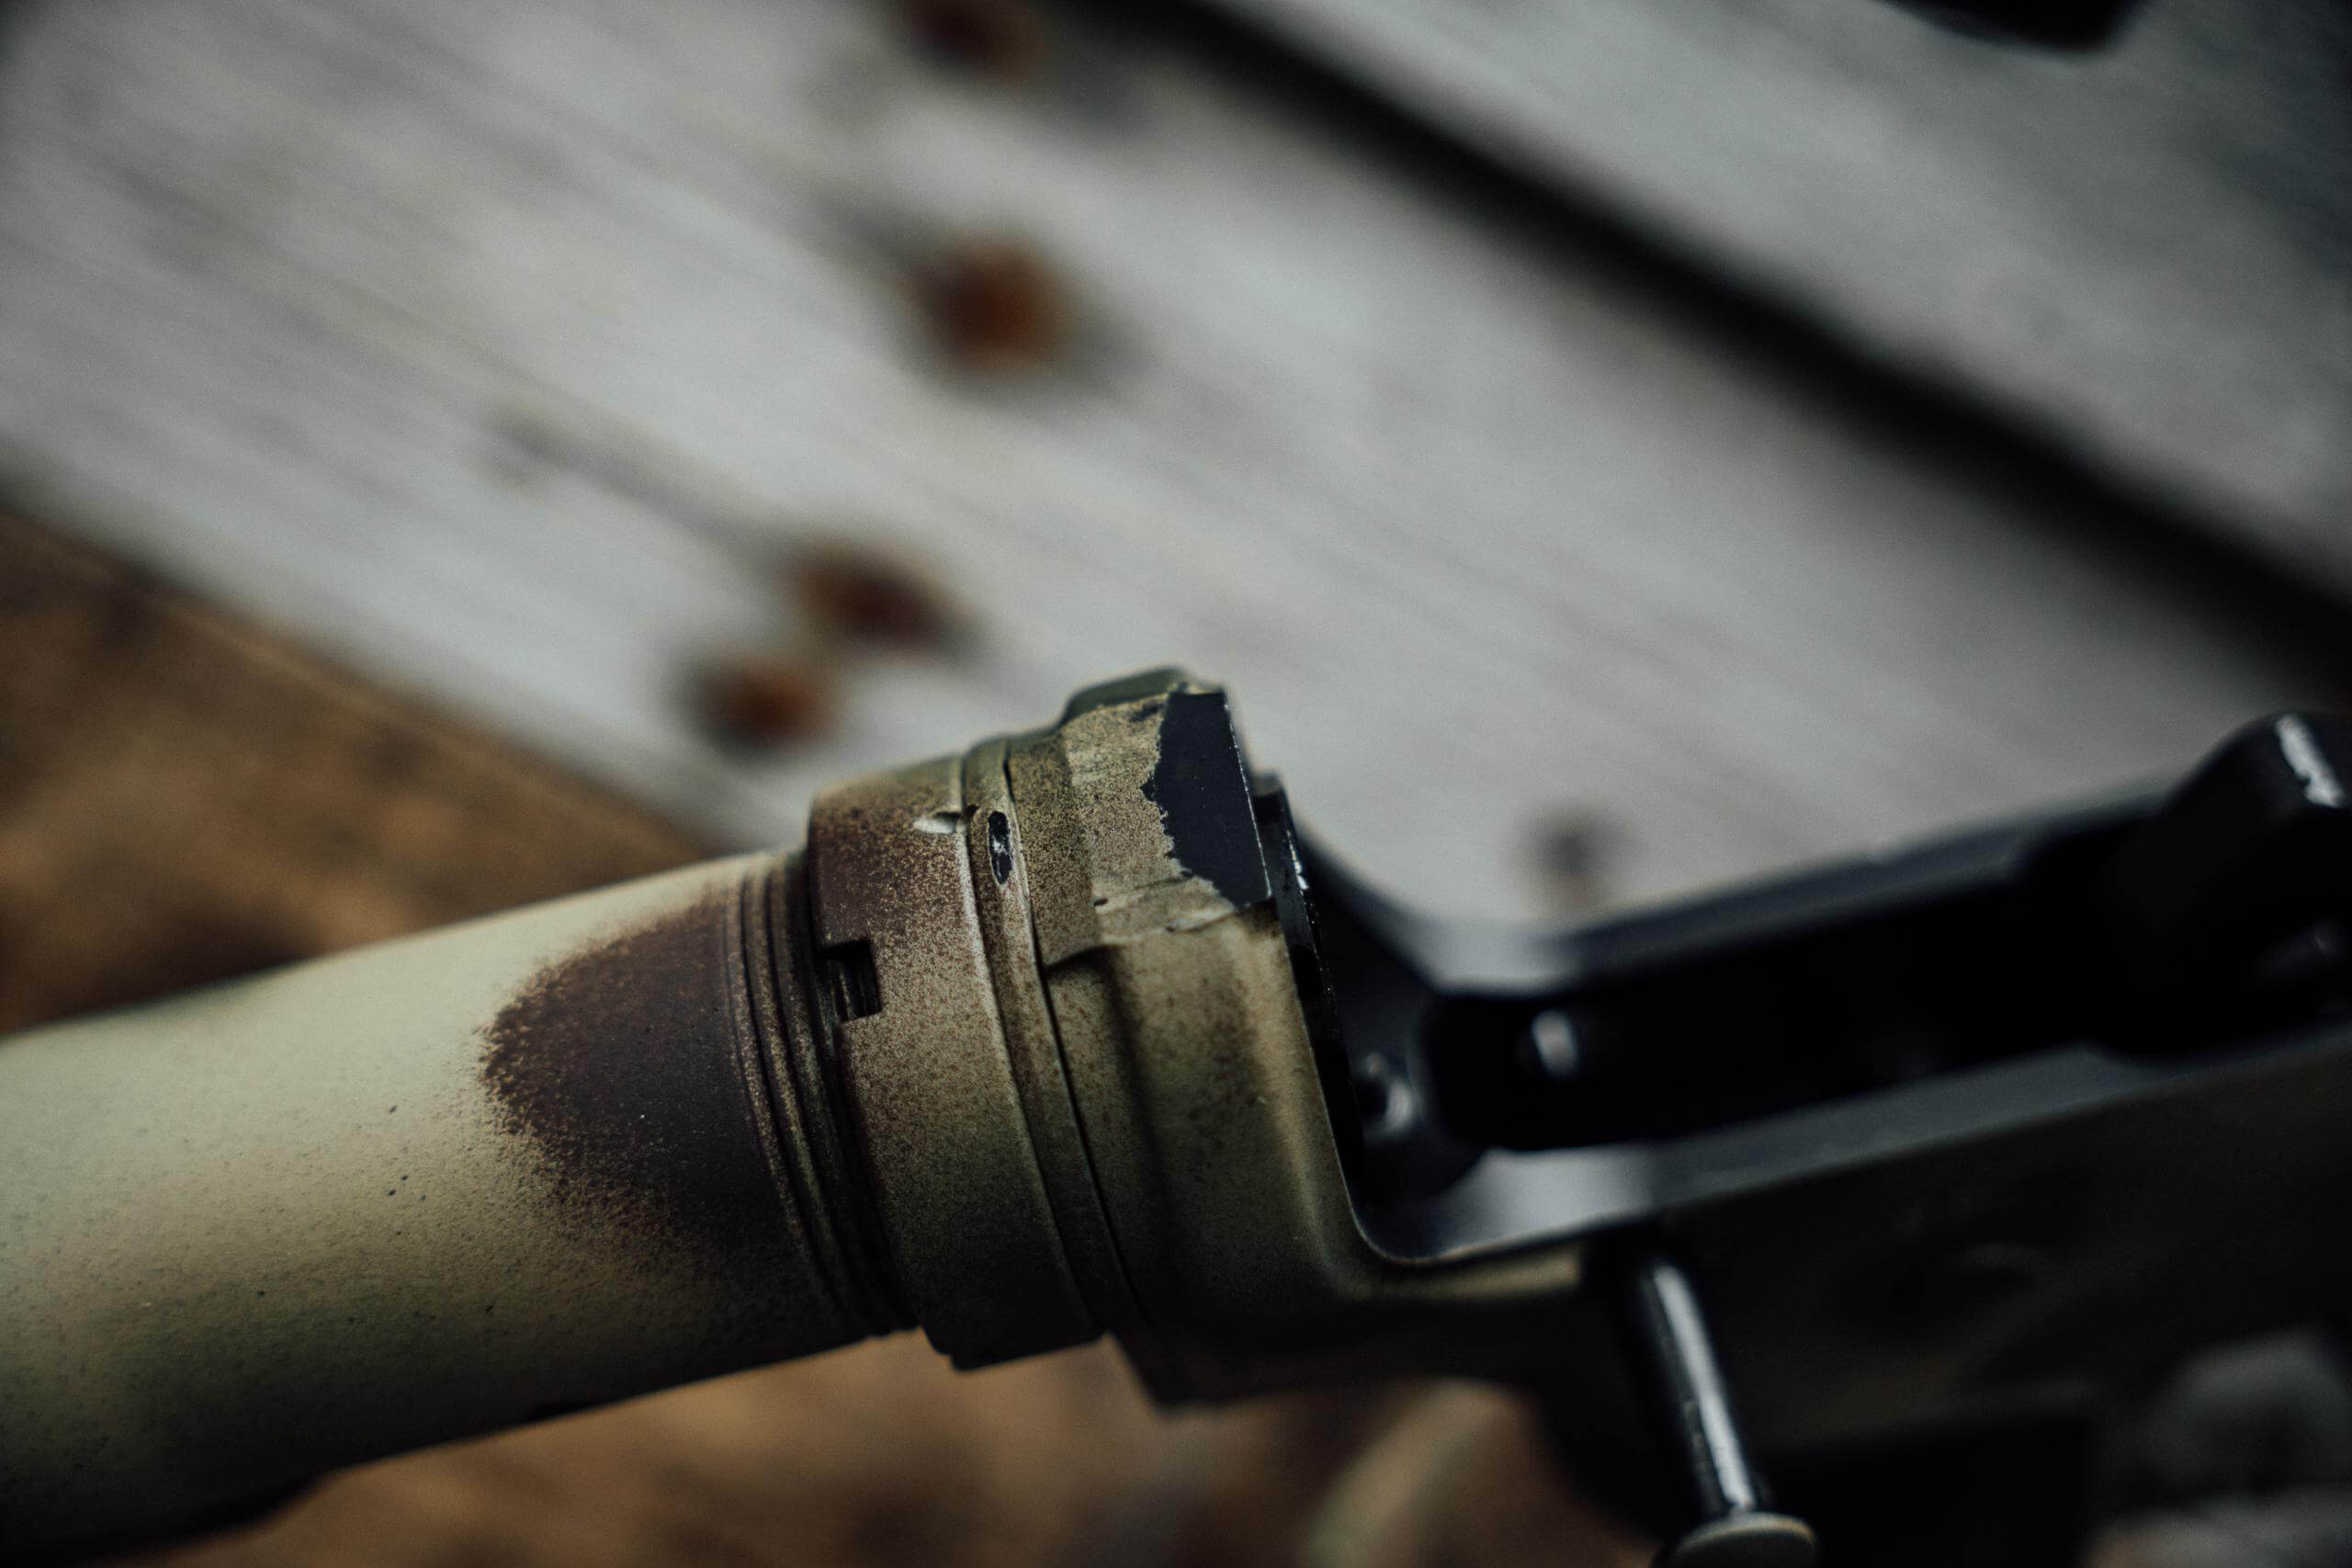
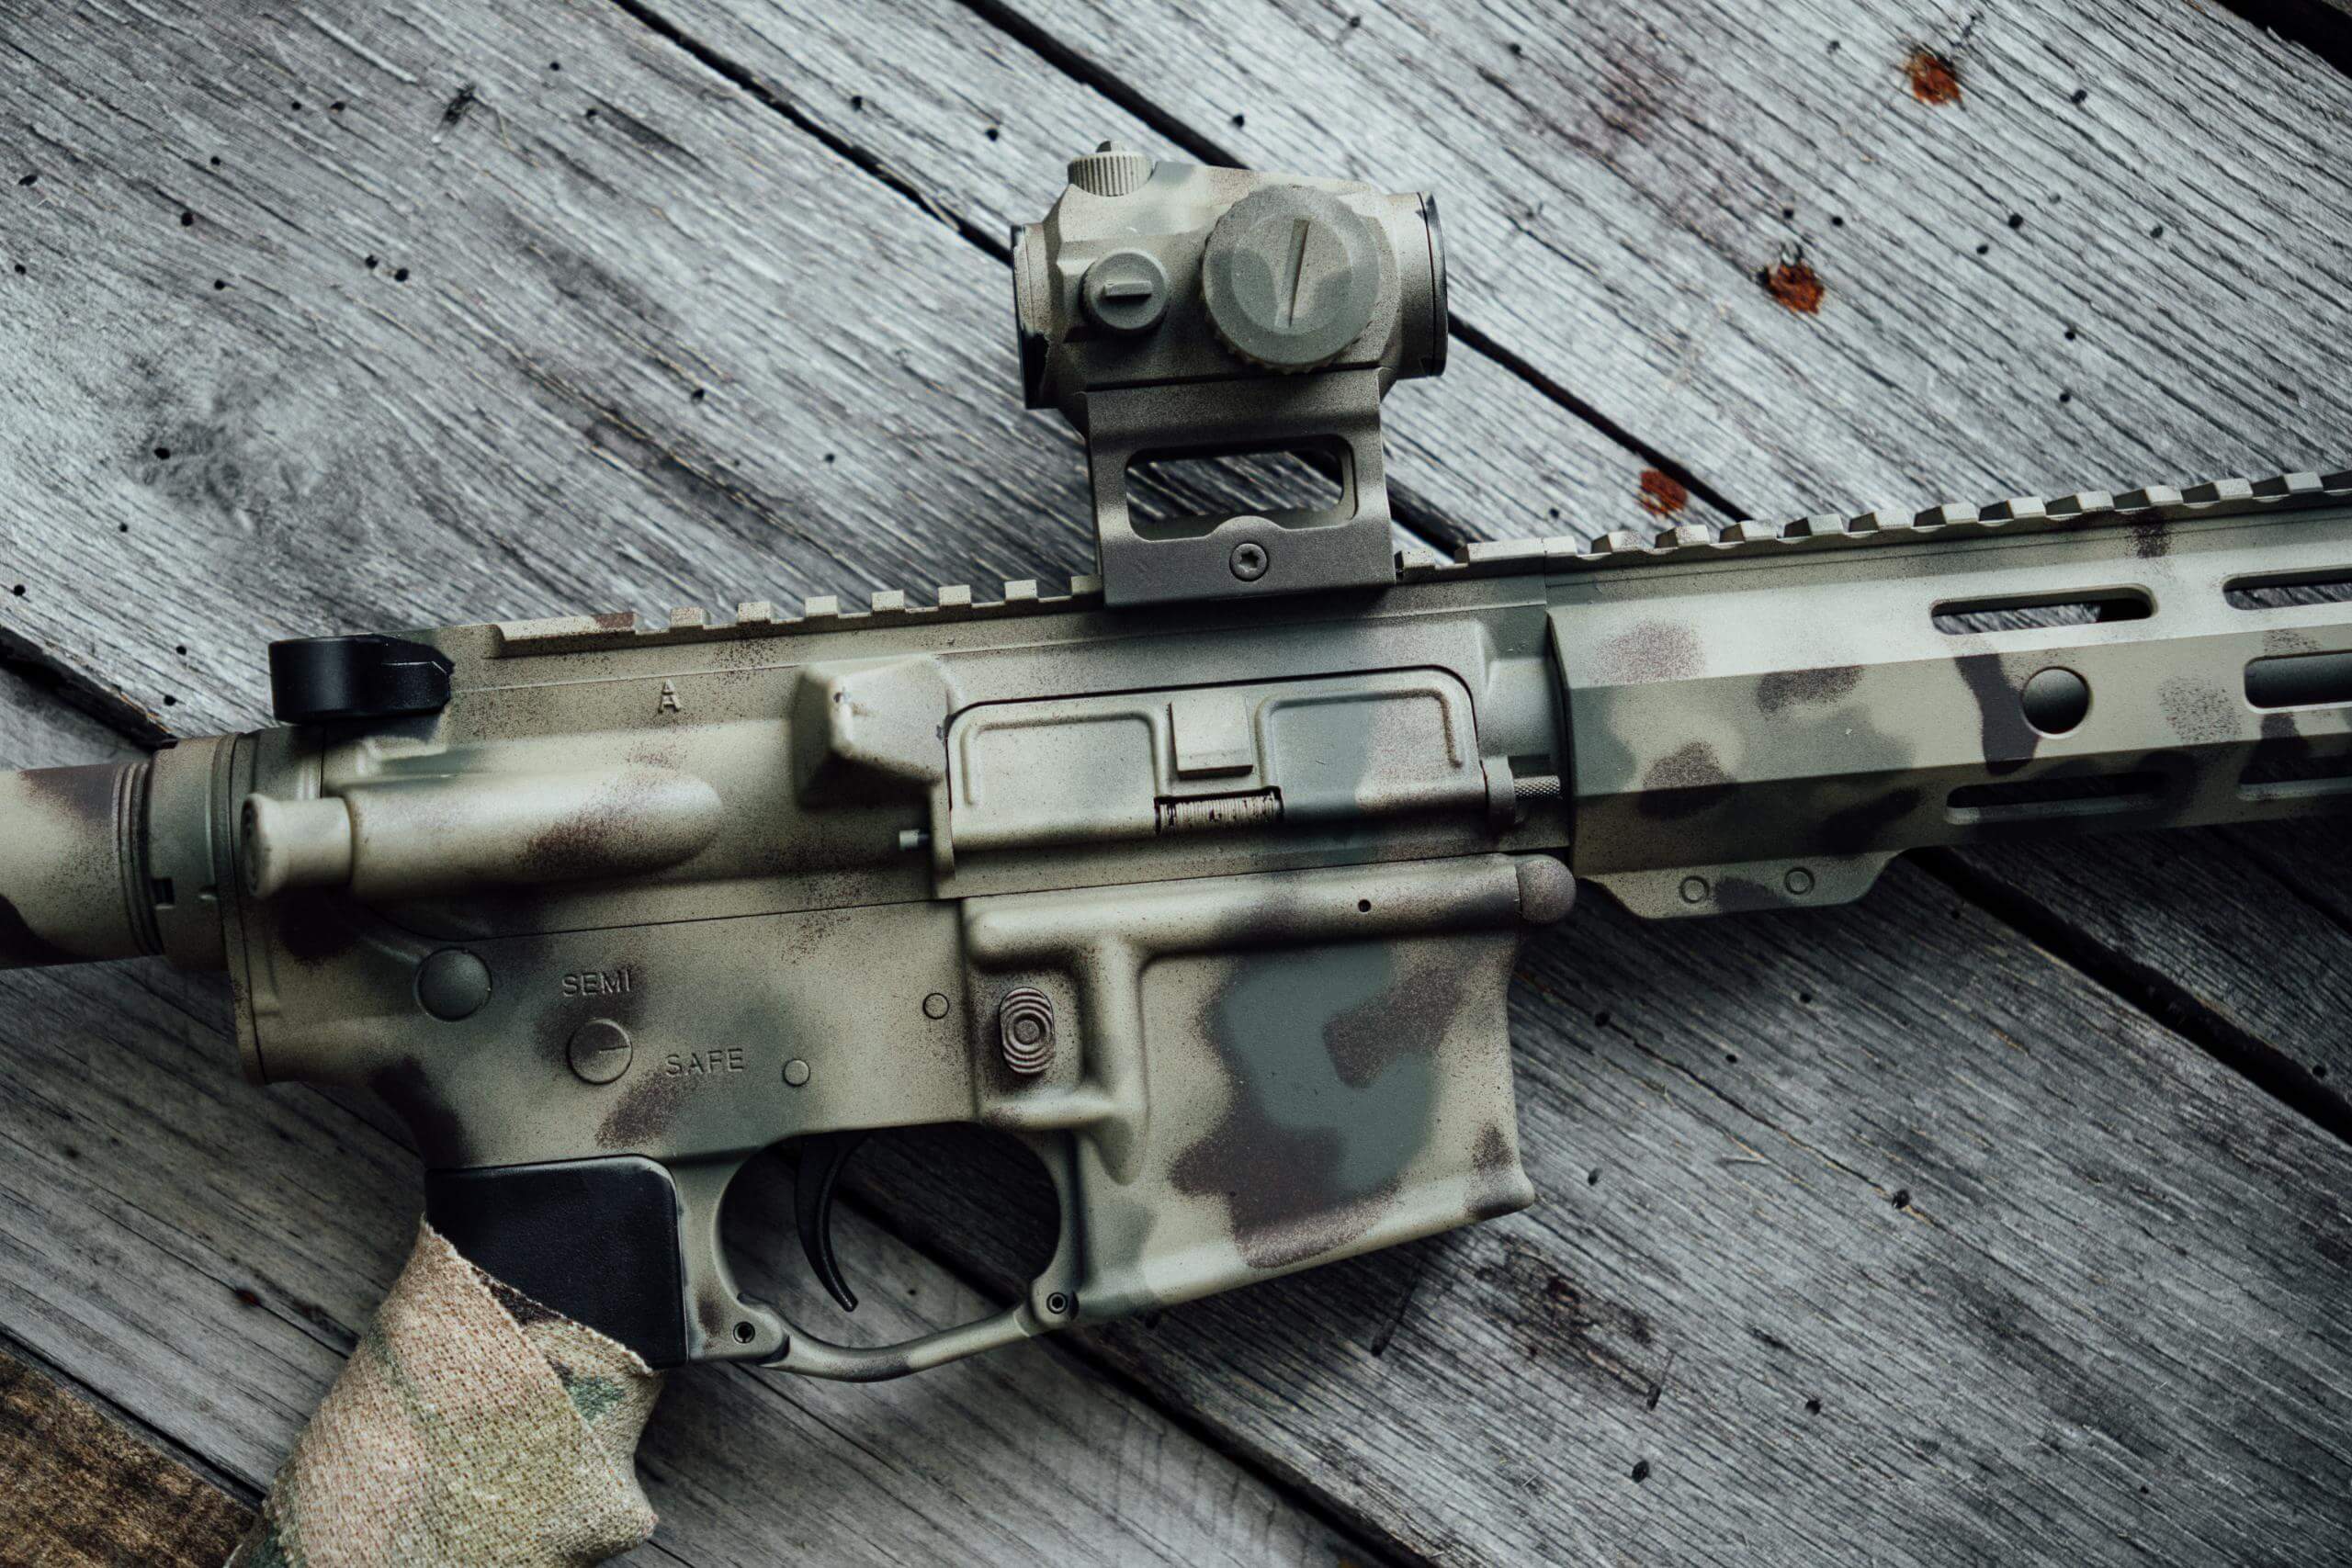
For the camo patterns I used some cheap silicone stencils I picked up from Primary Arms. This portion of the paint is completely up to you. I just placed the stencil over random places and sprayed green, let it dry completely then sprayed brown.
Experiment with different techniques such as stenciling or freehand to achieve desired patterns or textures. Once satisfied with the results, allow the paint to cure fully before reassembling the rifle. I live in South Florida and it gets very hot so I left the rifle in the sun for a few hours. My only negative experience occurred when I didn’t let the rifle cure properly and it was nasty, gummy and sticky.
Properly executed, spray painting can not only enhance the appearance of your rifle but also provide valuable concealment in various outdoor settings.
I would love to keep talking about the playing with paint however I’m late to pick up someones mom.